In this article, we’ll show you how to install, activate, calibrate and update Xhorse Condor XC-MINI Plus II.
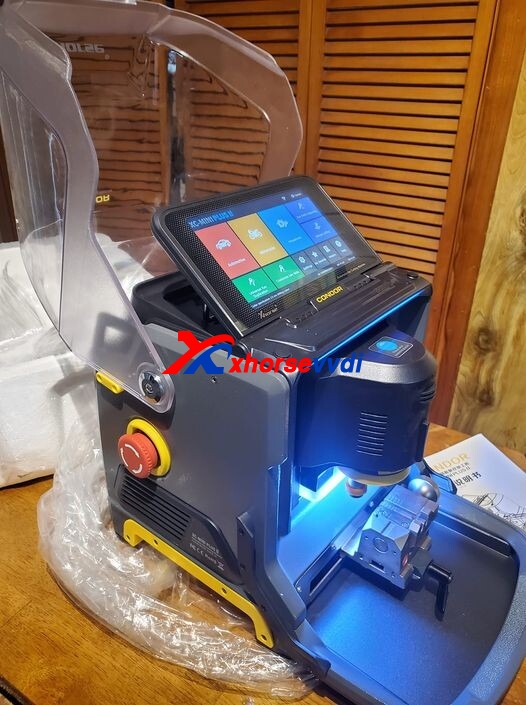
Part 1. Installation
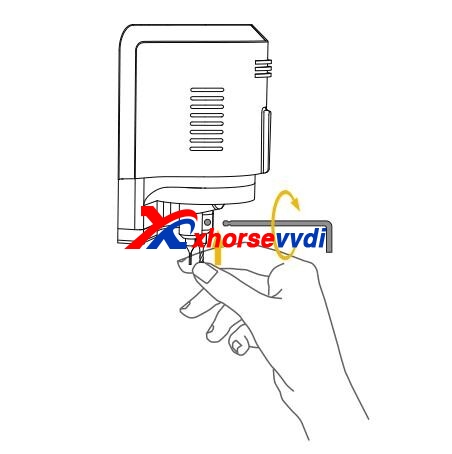
1. Install Cutter
1)Put the cutter into the mounting hole and make sure the cutter goes to the limit of the top.
2)Use the cutter tightening wrench to clockwise fix the cutter
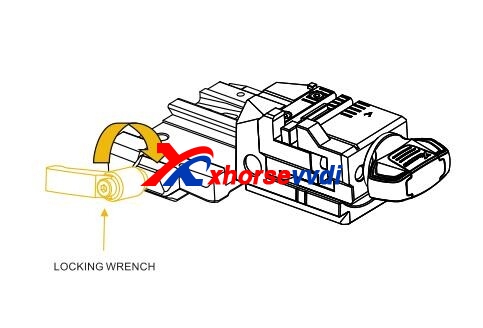
2. Install Clamp
1)Loosen the clamp-tightening wrench by turning it counter-clockwise.
2)Select the correct clamp and slide in the clamp to the clamp holder and push it to the limit of left.
3)After the clamp is put in the clamp platform, turn the clamp tightening wrench clockwise.
Part 2. Activation
1)Select the machine language
2)After the machine is connected to the power cord, turn it on, enter the main interface, and click the “START TO SET” button

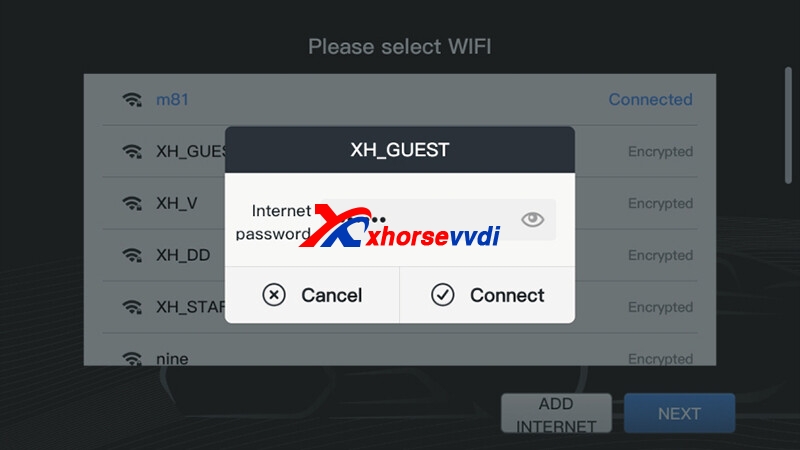
3)Click to select a Wi-Fi network
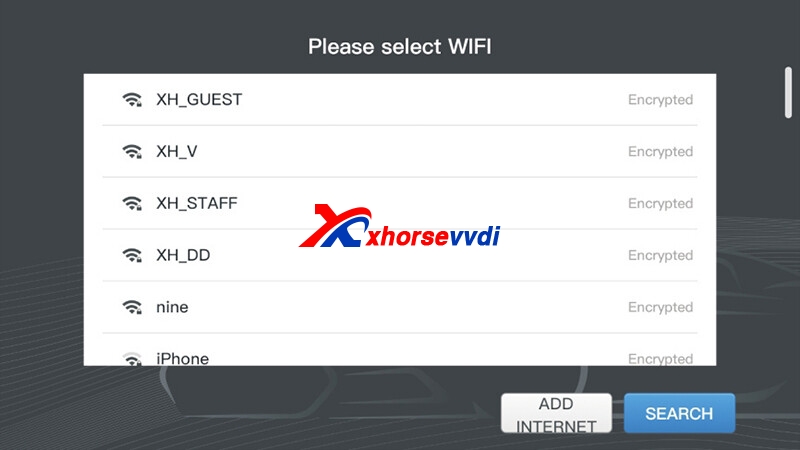
4)After entering the password, click the “Connect” button, and click “NEXT” below after success. (Login the XHORSE account)
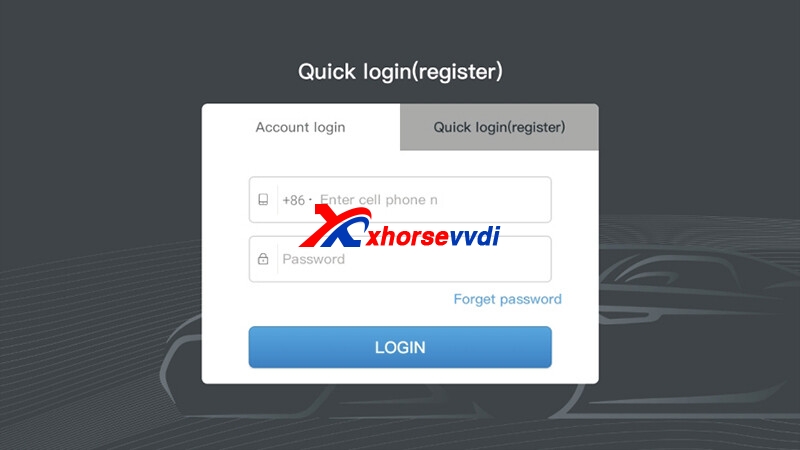
5)Users can choose account login or quick login (new users need to choose quick login and register)
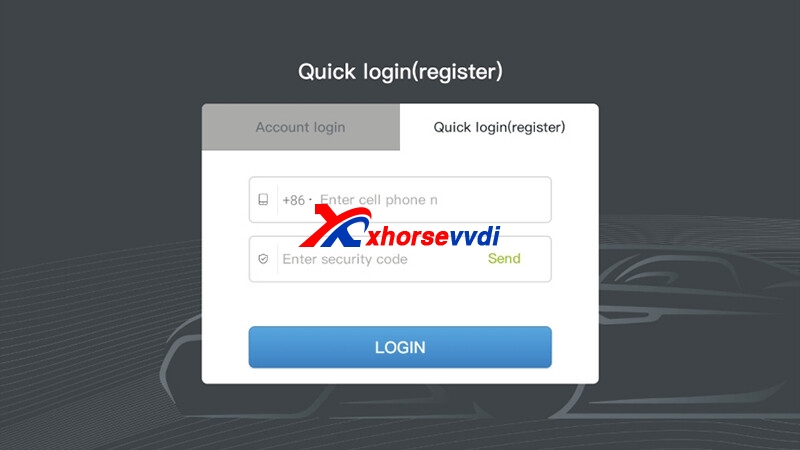
6)After logging in successfully, click “Send” to bind the device.
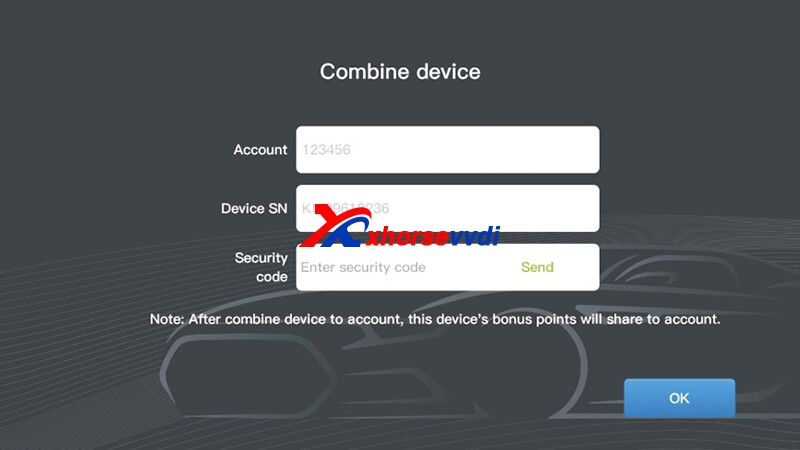
7)The device is successfully activated, click “START TO USE”.

Part 3. Calibration
This CONDOR II Machine adopts Android system, no need for “Height Calibration” and “Clamp Calibration”, just move the probe and the cutter to the top.
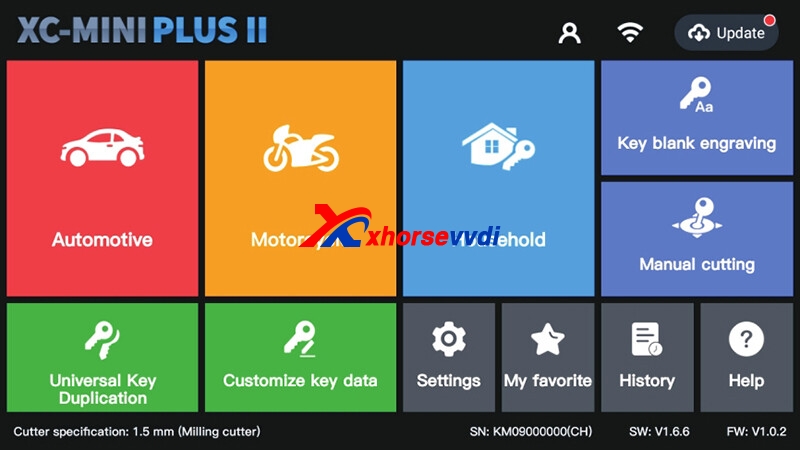
1)Enter the operation main interface and click on “Settings”.
2)Click on “Cutting Calibration”.
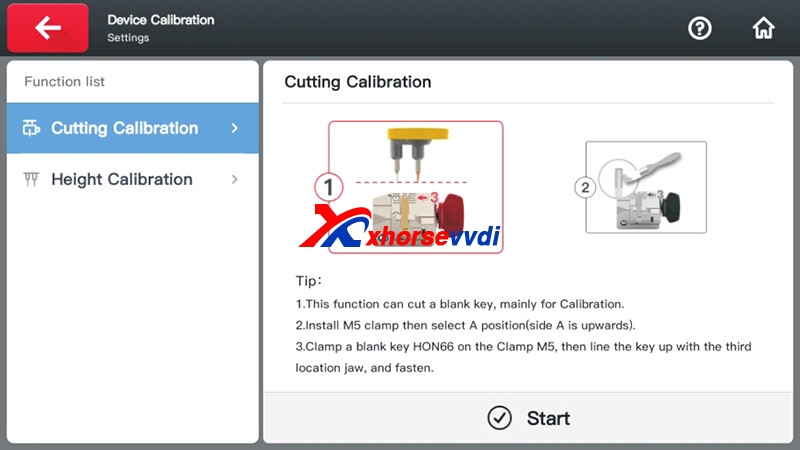
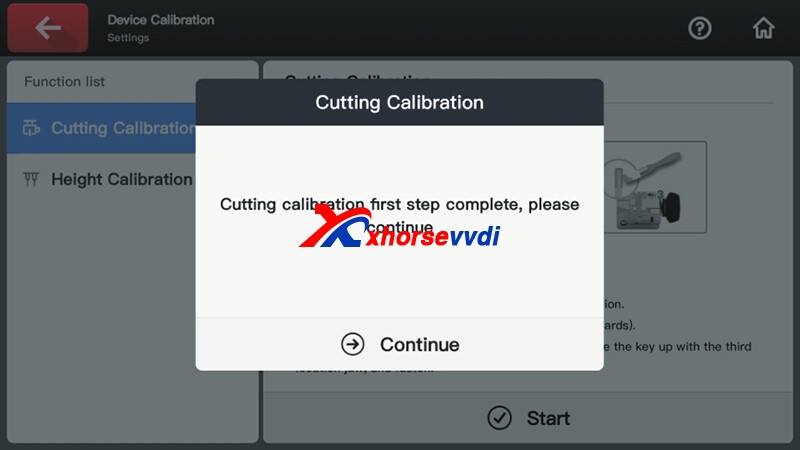
3)Operate by following the tips and click on “Continue”.
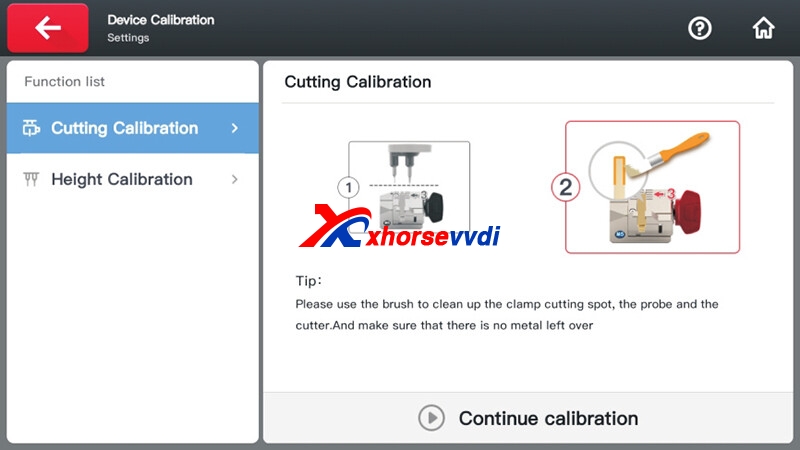
4)Clean the cutter and probe and working area with a brush. Click on “Continue calibration” and now the calibration is finished.
Part 4. Update
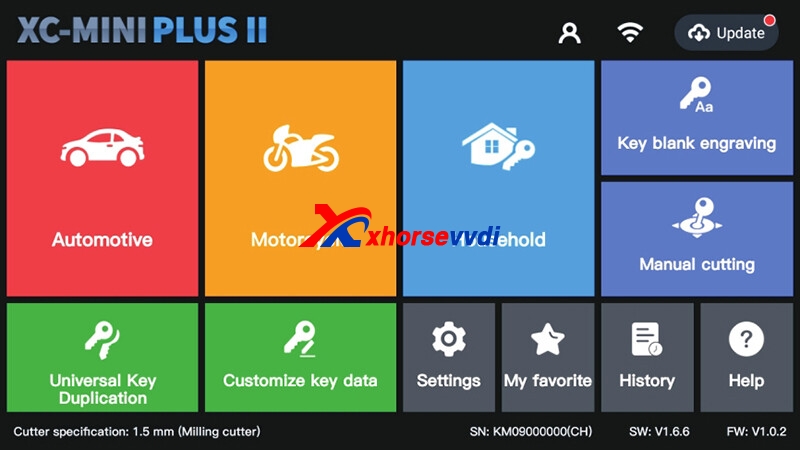
Connect the machine to the Internet, click “Update” in the upper right corner of the main page.
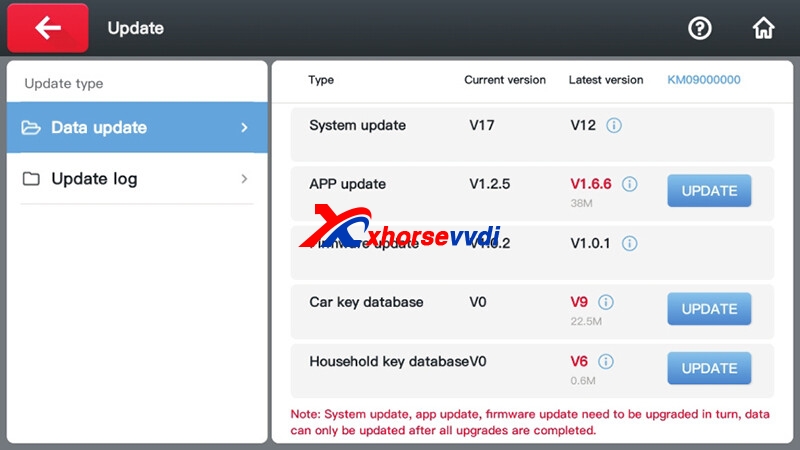
Click the “UPDATE” button on the right to upgrade.
CONDOR XC-MINI PLUS2 USER MANUAL
https://www.xhorsevvdi.com/
Skype: xhorsevvdi.com
Whatsapp:+86-13983756354

 Whatsapp:
 Skype: