


Cloning a Delphi 7.1 ECU involves reading and transferring both EEPROM and Flash data to a replacement unit. With the Xhorse Multi-Prog programmer, the ECU’s internal data can be accessed through boot mode, allowing the original data to be transferred accurately and the cloned ECM to be verified on the vehicle.
Example: Mahindra XUV 300 BS6 Delphi 7.1 ECU cloning successfully completed with Xhorse Multi-Prog.
Step 1: Hardware Connection
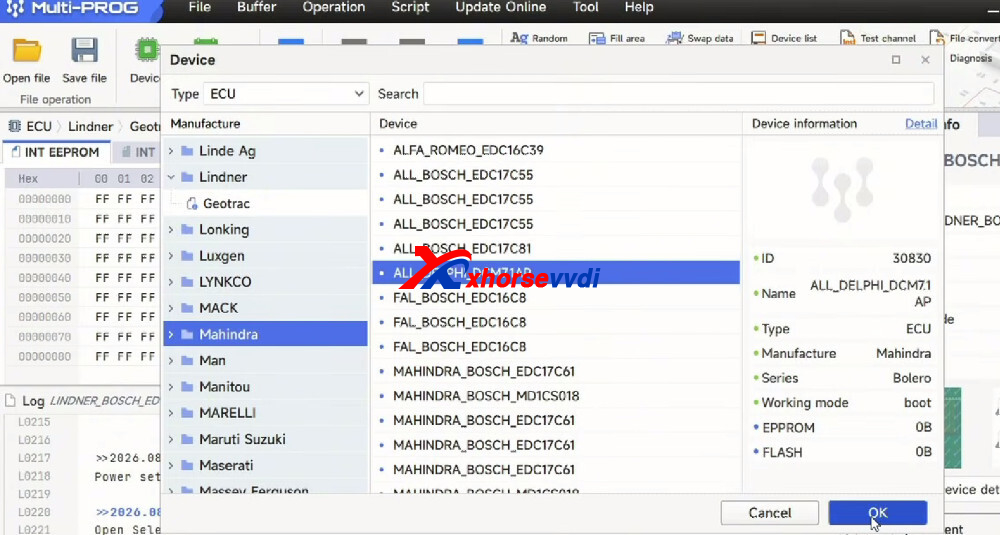
Navigate to Device-> Mahindra-> ALL_DELPHI_DCM7.1AP-> OK
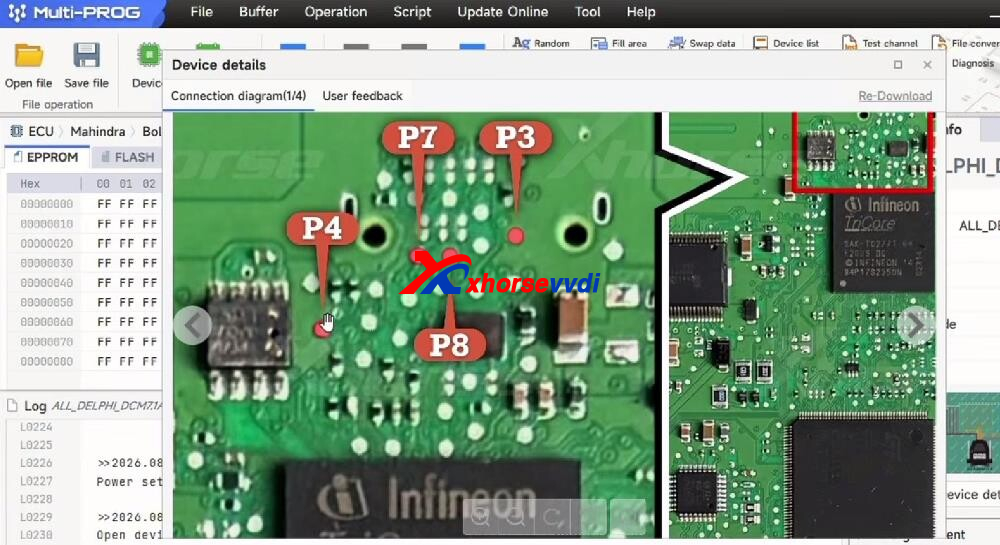
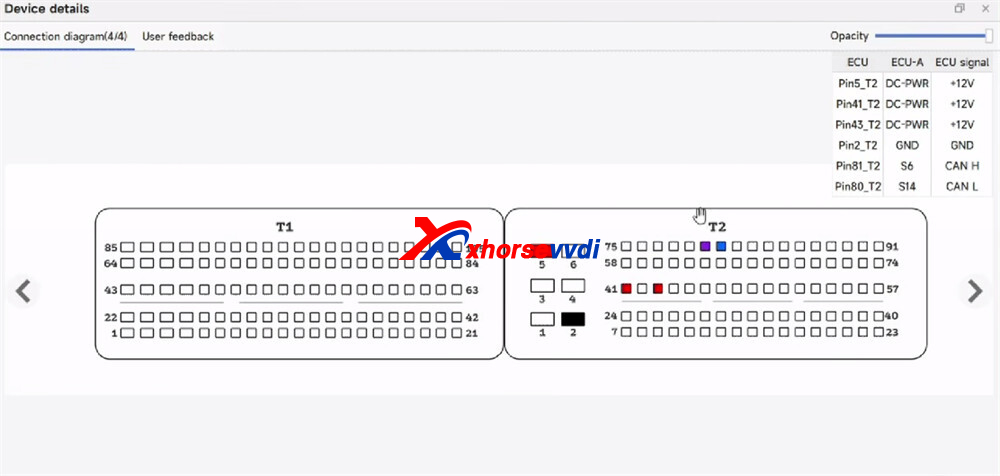
Wire the original Mahindra XUV 300 BS6 Delphi 7.1 ECU according to Multi Prog wiring diagram in boot mode.
Select Connect ECU in the software.
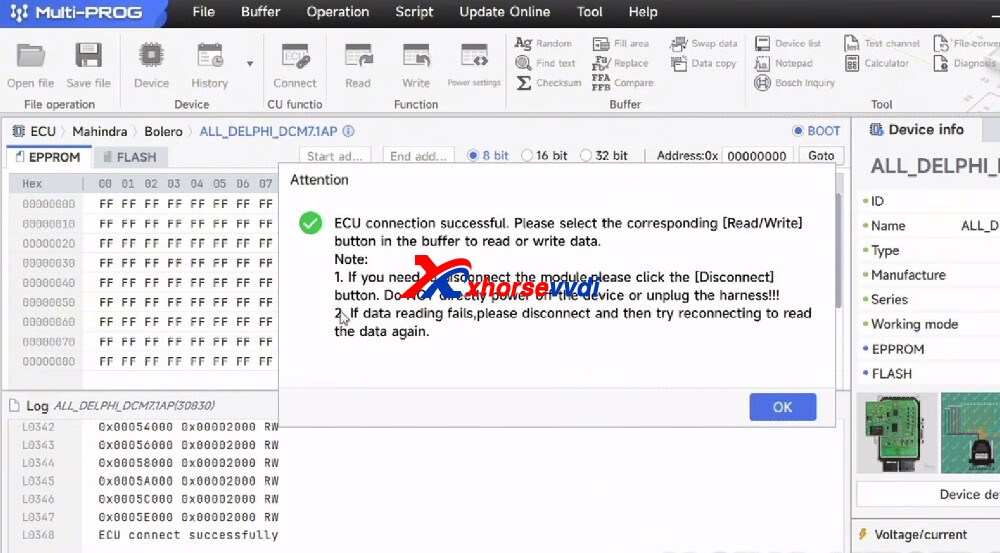
Step 2: Reading Original Data
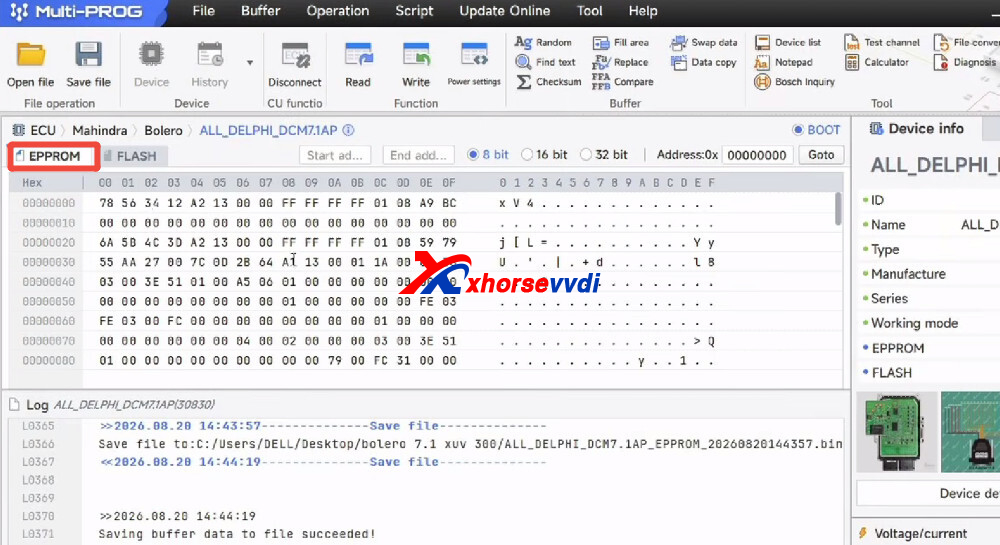
Select the EEPROM tab, click Read, and save the file to your computer.
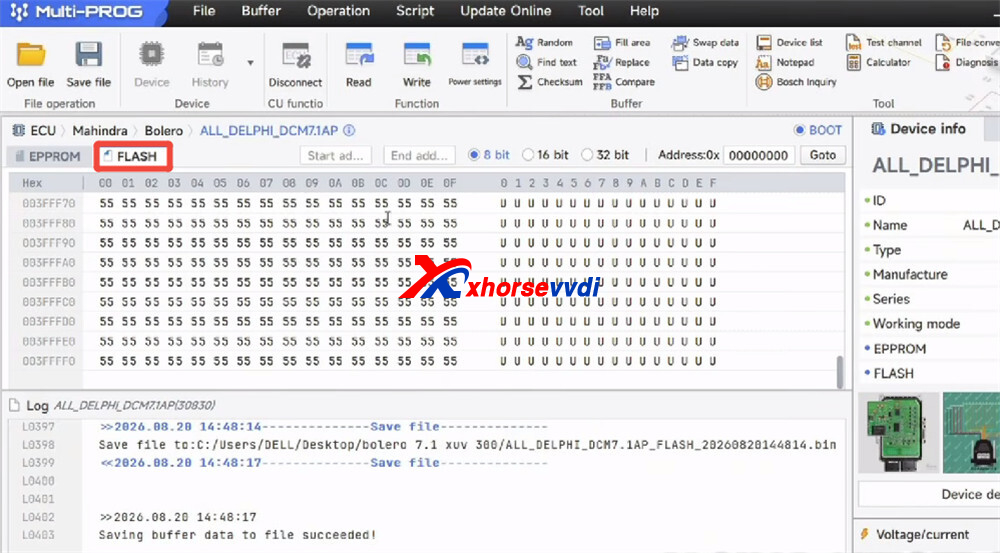
Next, select the FLASH tab and click Read (takes 1–2 minutes).
Save the original Flash file.
Click Disconnect.
Step 3: Writing Replacement Data
Connect the target (replacement) ECU to Multi–Prog.
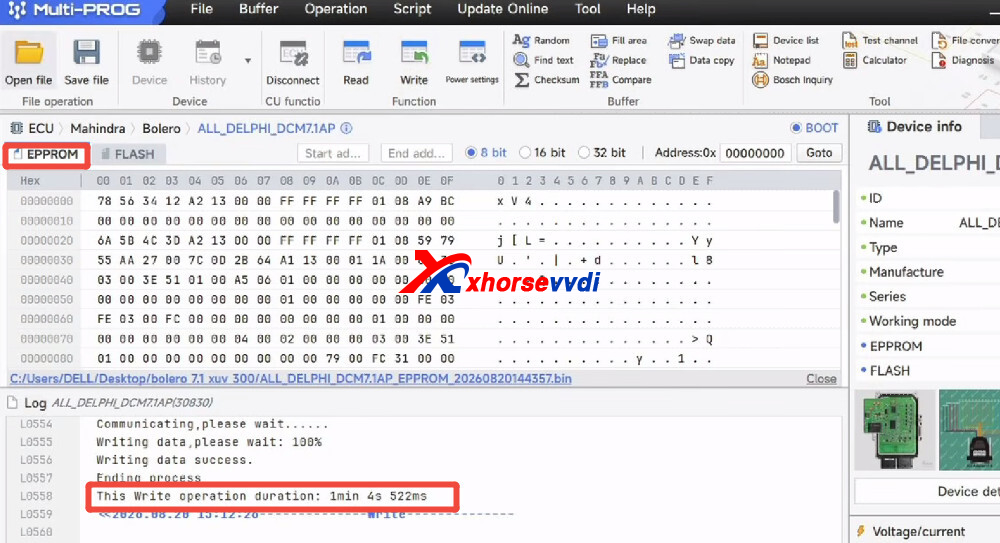
Open the saved EEPROM file under the EEPROM tab and click Write.
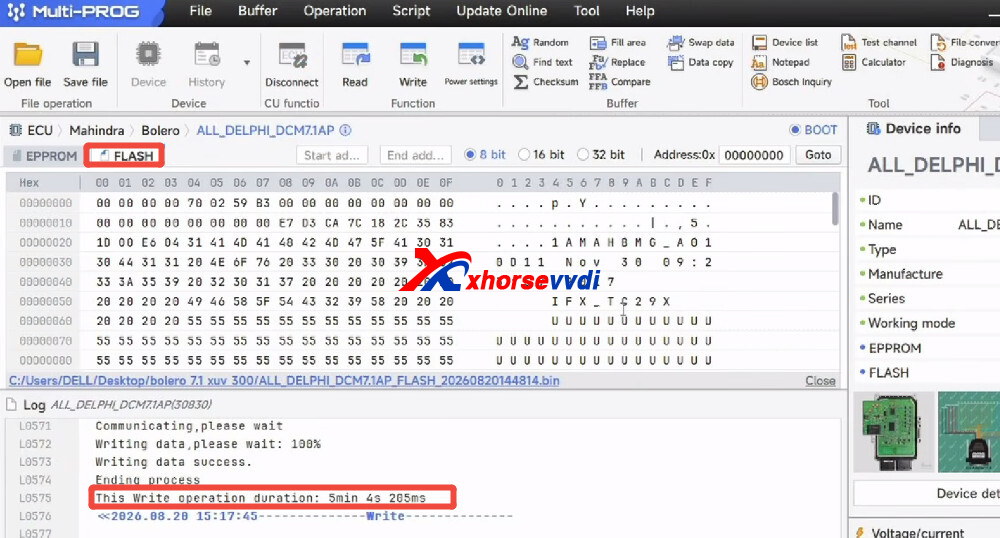
Next, select the Flash tab, open the saved Flash file, and click Write.
Step 4: Data Verification
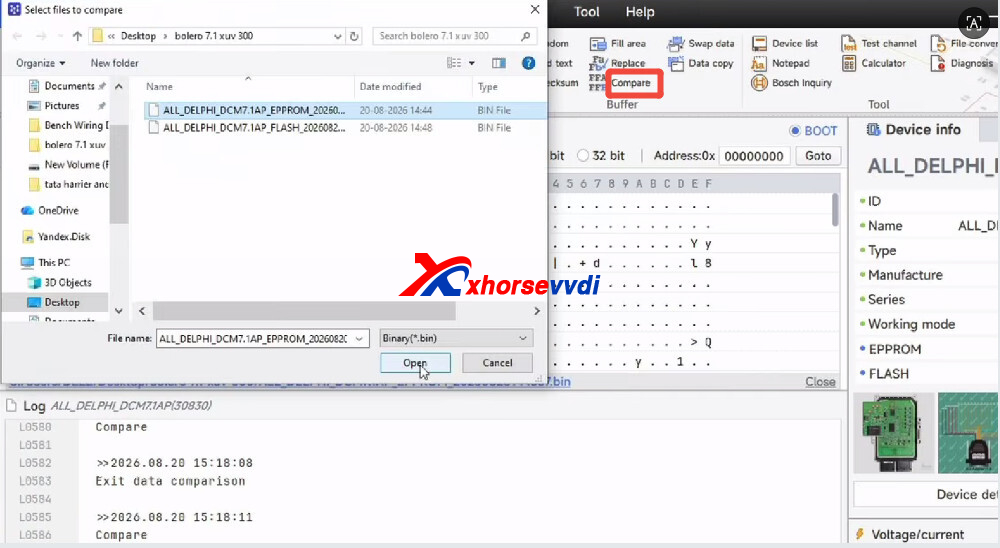
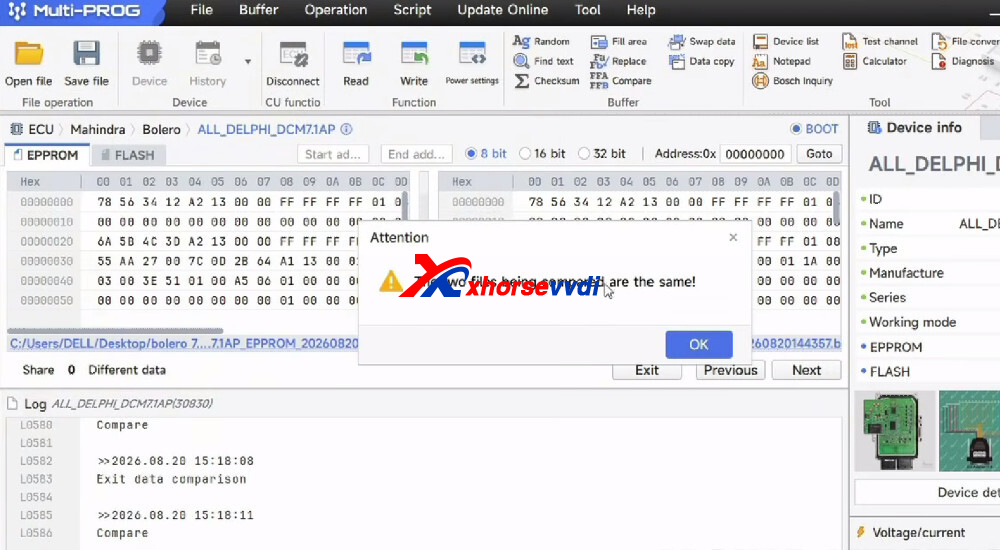
After writing, use the Compare tool in Xhorse Multi Prog for both EEPROM and Flash tabs.
Load the original saved files to confirm the data on the replacement ECU matches 100%.
Step 5: Final Assembly
Disconnect the ECU from Multi-Prog ECU Programmer, install it in the vehicle, and start the engine to complete testing.
Skype: xhorsevvdi.com
Whatsapp: https://wa.me/8613983756354


 Whatsapp:
 Skype: