
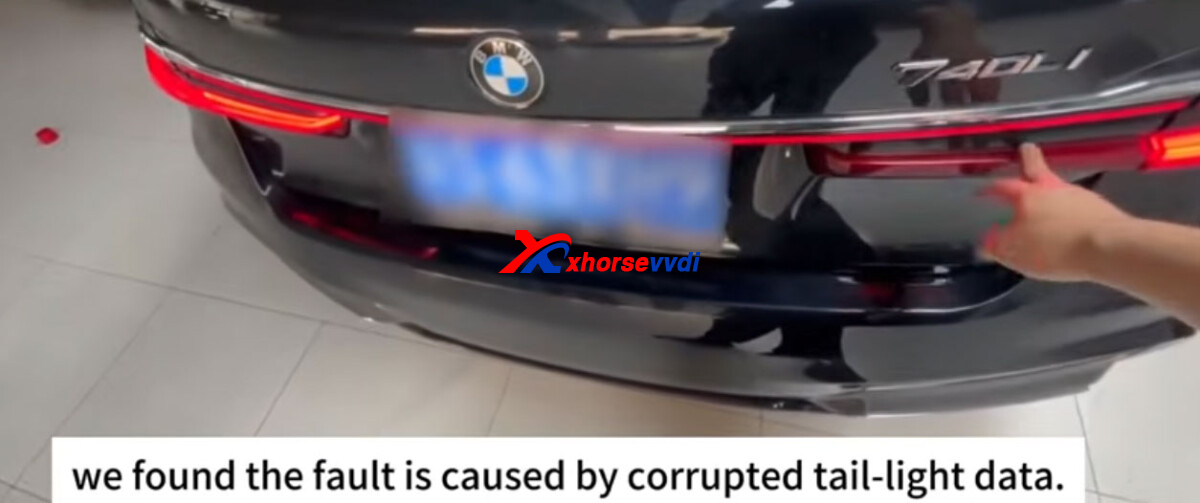
BMW G12 right tail light was completely black due to corrupted tail light data. Instead of replacing the entire lamp, I opened the unit and repaired the MCU data using the Xhorse Multi-Prog Programmer. Repair done successfully!
Remove the Tail Light
- Carefully pry off the side trim next to the tail light, then remove the lower tailgate trim. There are two hidden screws inside, while the remaining parts are secured with clips.
- Remove the six screws inside the light bar and gently pull the light bar outward.
- Remove the two screws located behind the tail light. The complete tail light assembly can then be removed.
Open the Housing & Remove the PCB
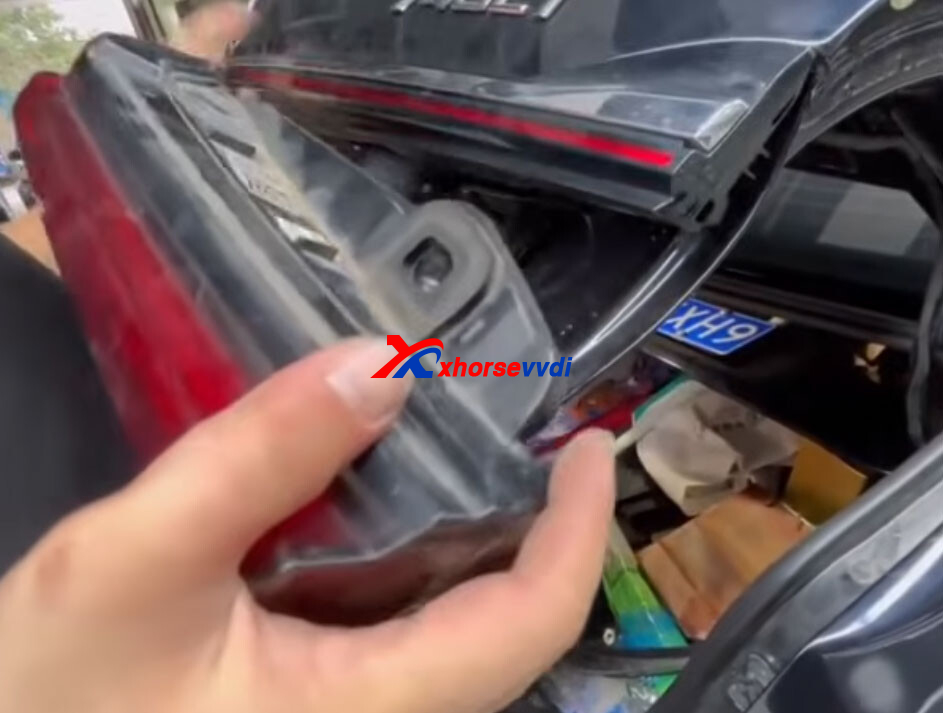
- The lamp had been opened previously, so the housing could be separated along the existing sealant line. For an unopened lamp, carefully cut along the original factory sealant line.
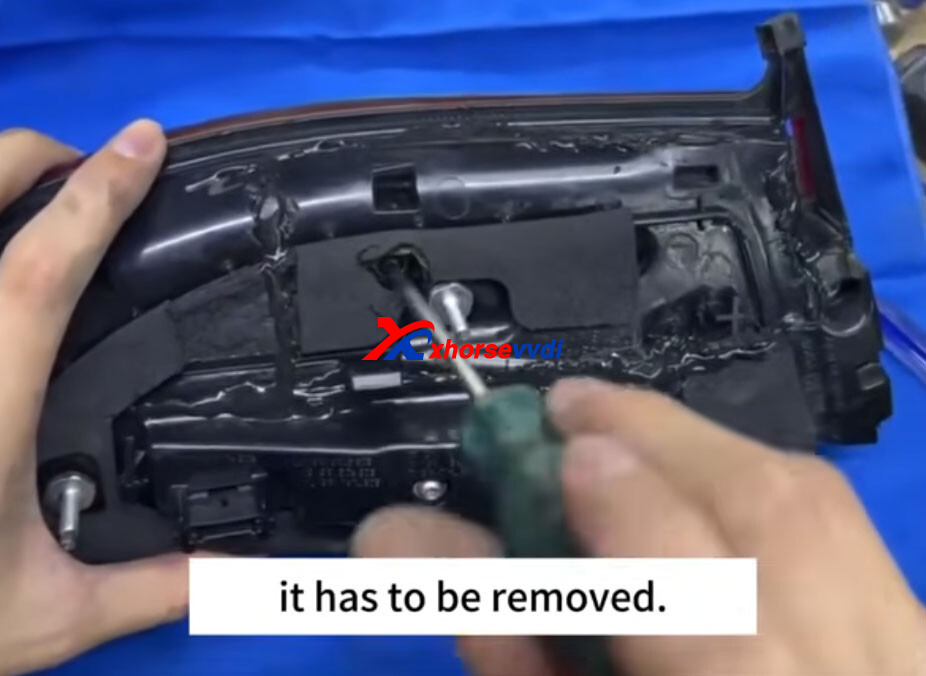
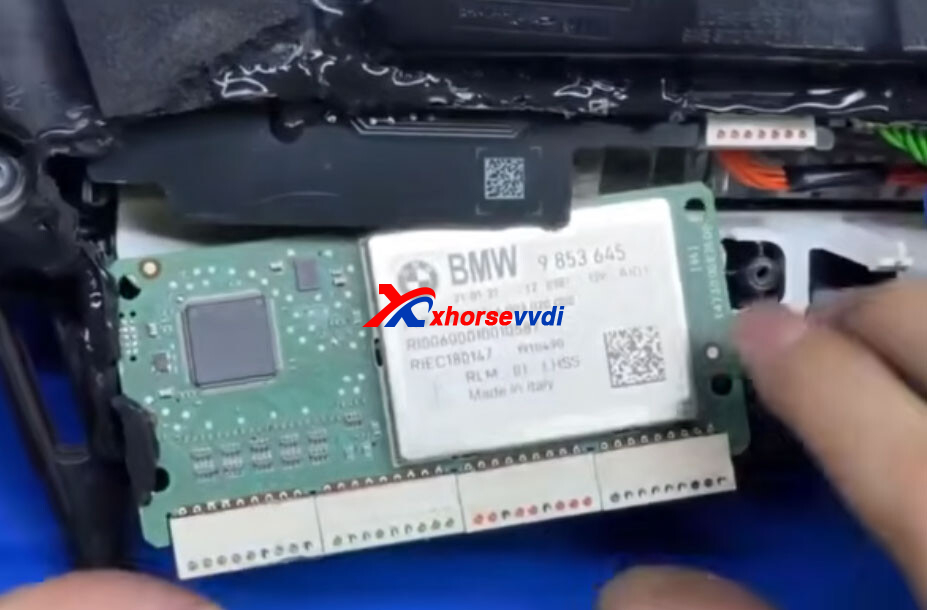
- Remove the housing screw, press the two PCB clips outward, and slide the PCB out of the housing.
- Disconnect all connectors from the PCB before proceeding with the next step.
PCB Wiring & MCU Flashing Procedure
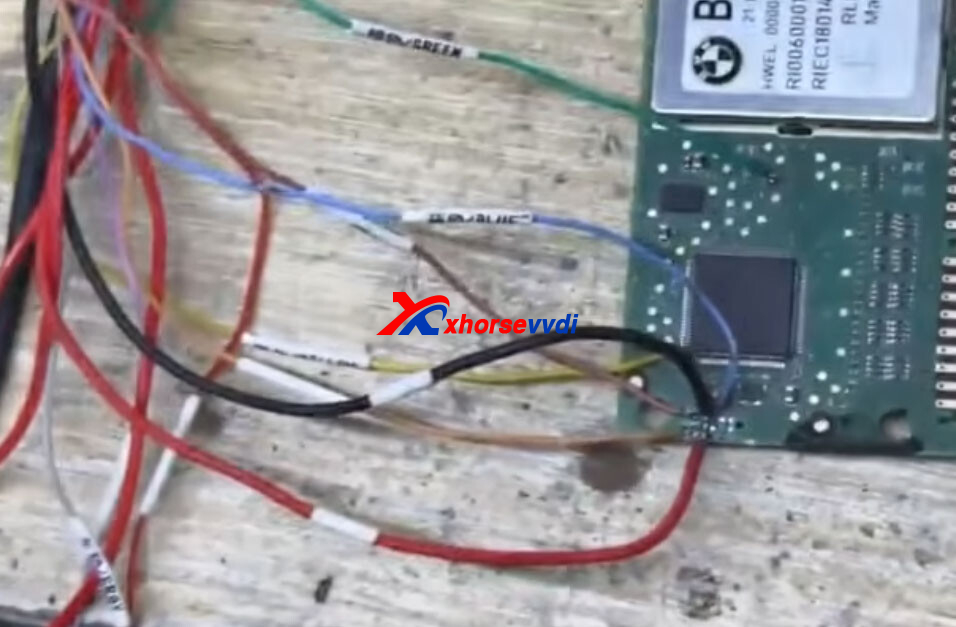
- Solder the green and yellow wires to their corresponding test points on the PCB.
- Connect the five programming pins: brown to the first pin on the top row, orange to the first pin on the bottom row, black to GND, red to VCC, and blue to the third pin on the top row.
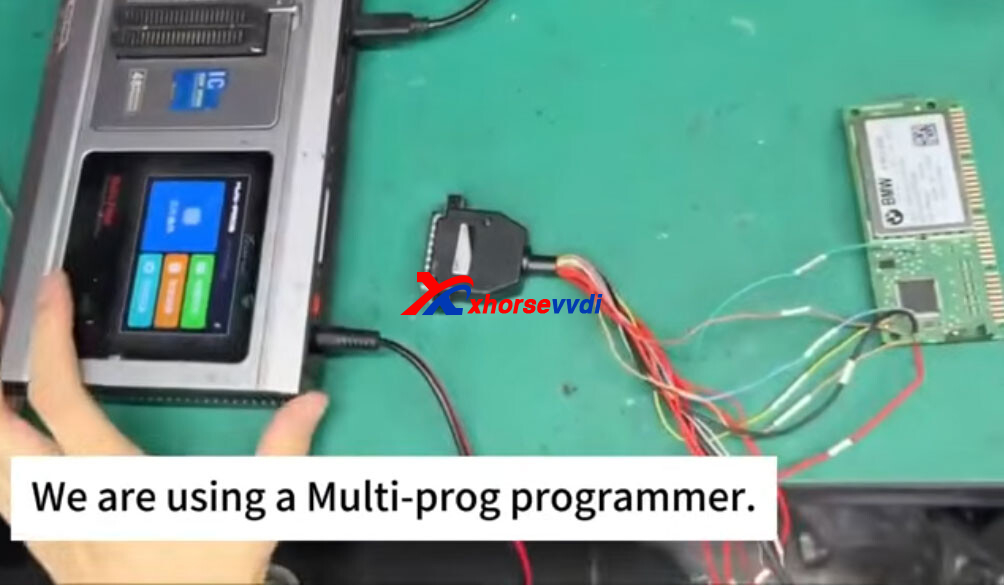
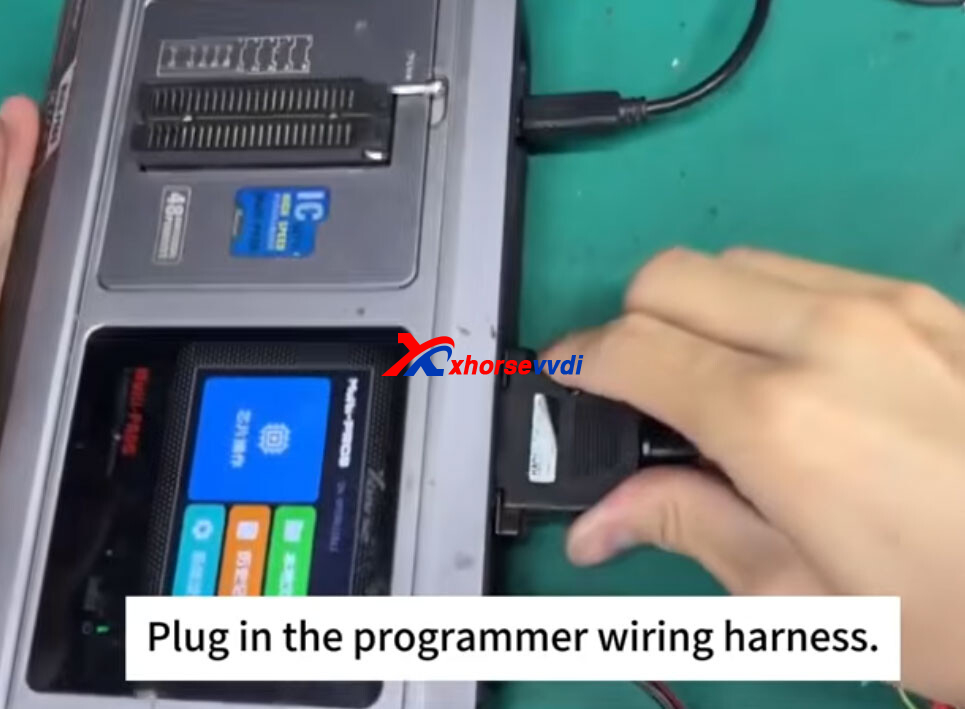
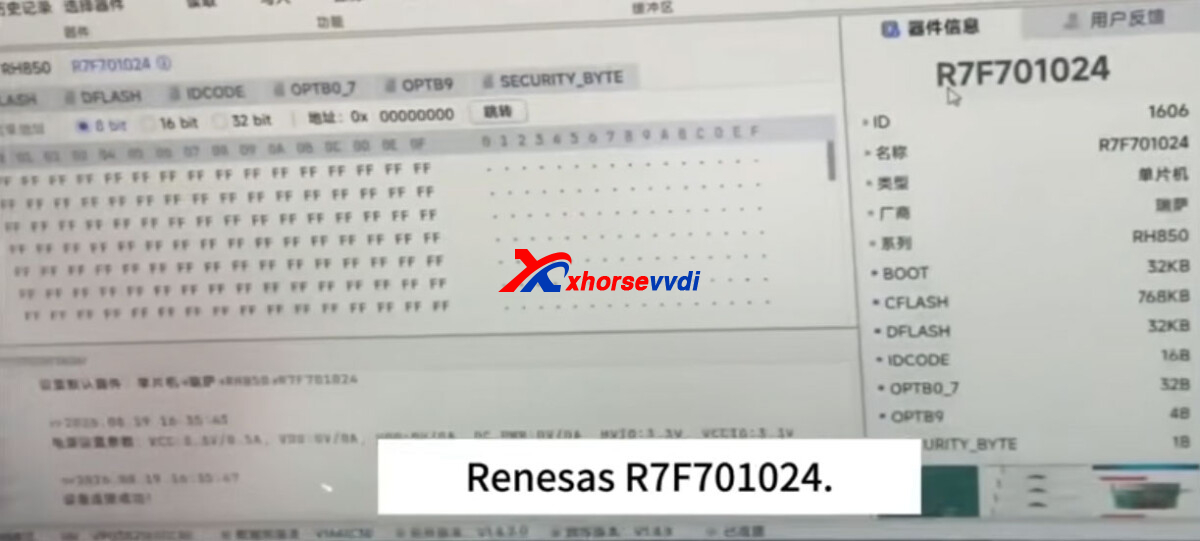
- Connect the harness to the Multi Prog, launch the programming software, and select the R7F701024 MCU protocol.
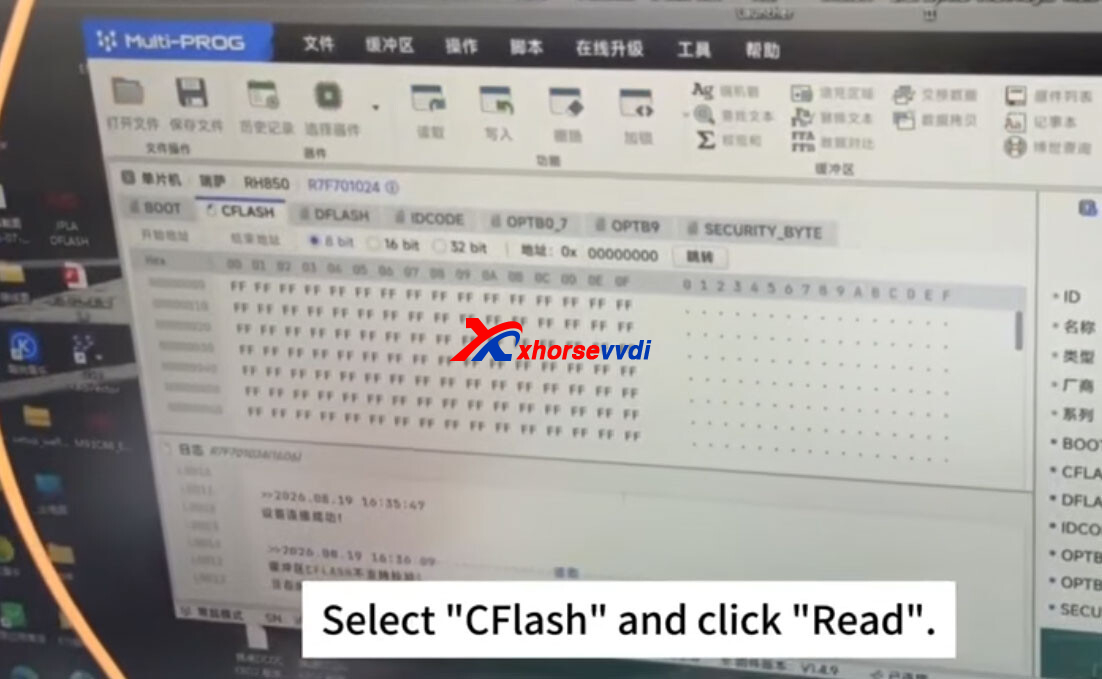
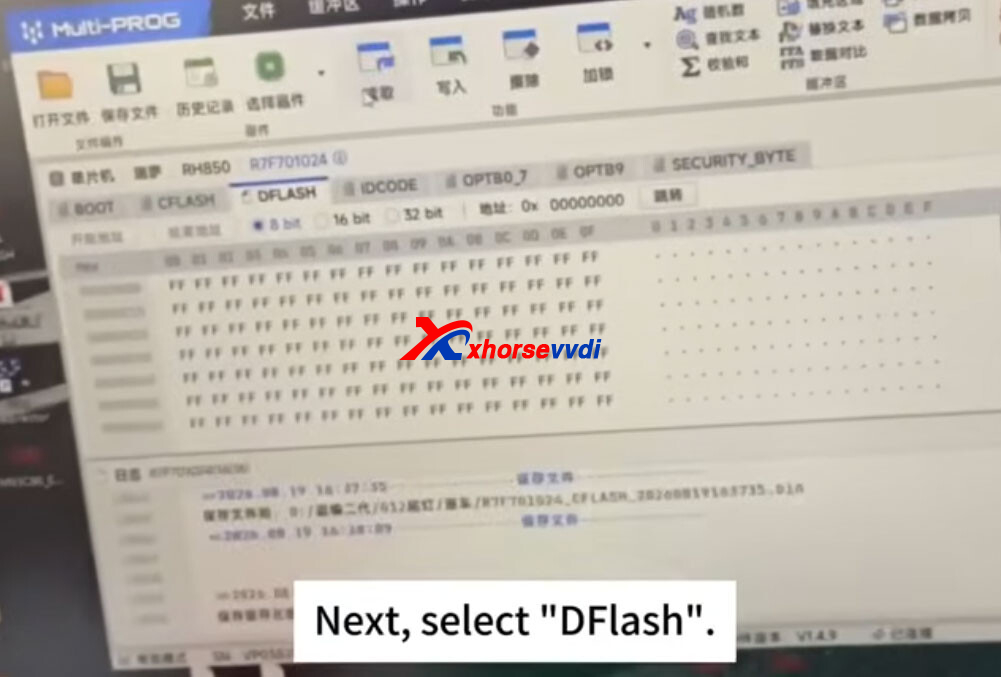
- Read and save the original C-FLASH data first, then read and save the D-FLASH data. Keep both original files safely backed up.
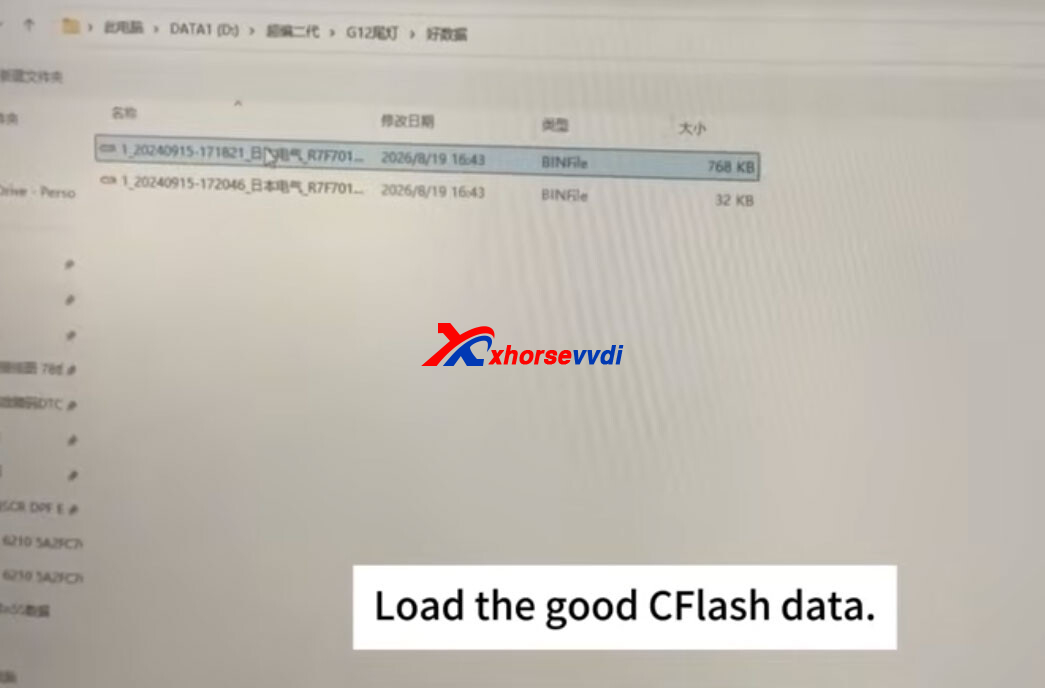
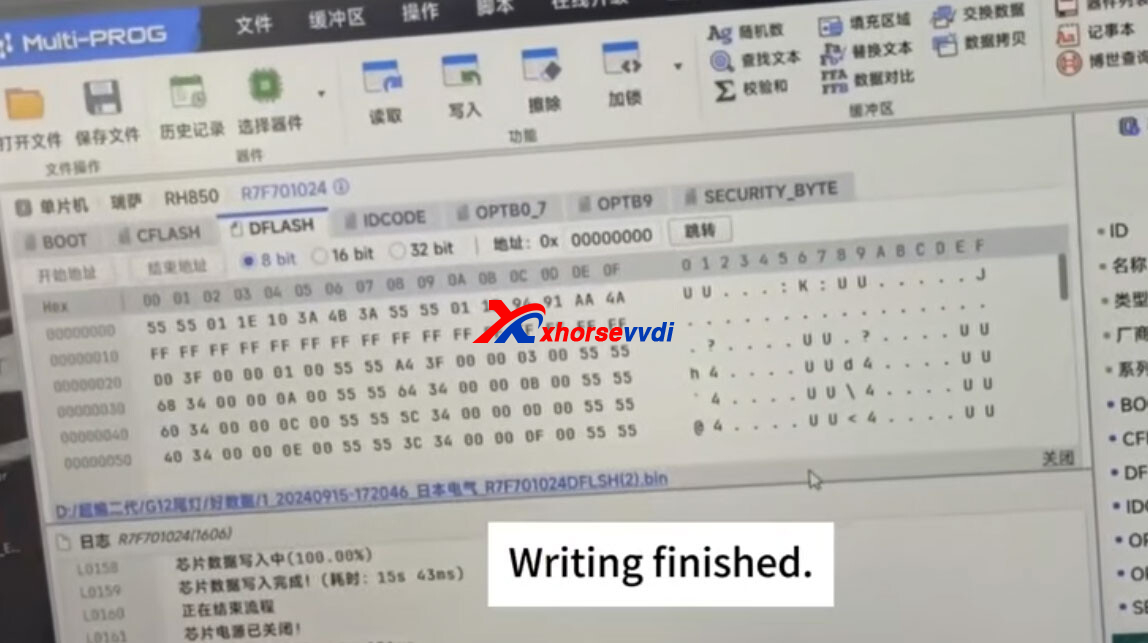
- Load the repaired C-FLASH file and write it to the MCU. Then repeat the same process with the repaired D-FLASH file.
Reassemble and Test
- After writing both files successfully, disconnect the programmer and remove all soldered wires from the PCB.
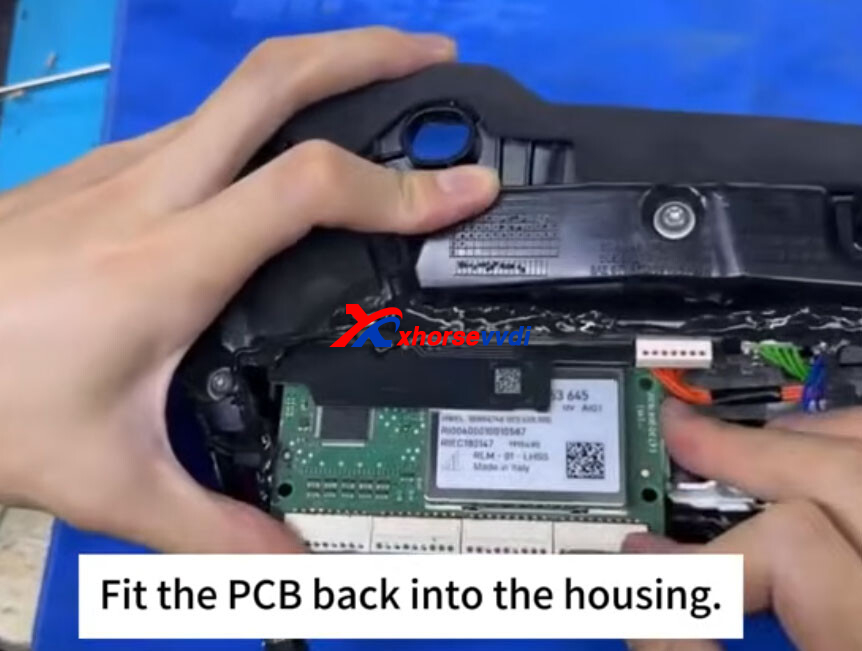
- Reconnect the connectors, place the PCB back into the housing, secure the side clips, reinstall the rear cover, and tighten the screw.
- Reinstall the tail light on the vehicle and reconnect the tail light connector.
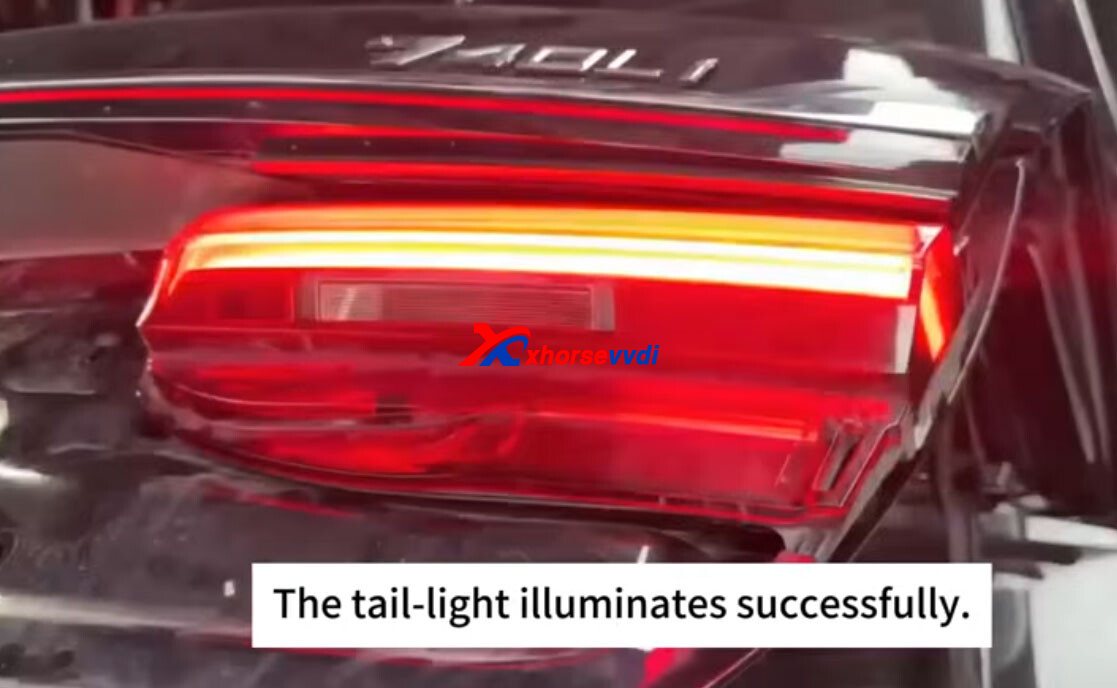
- Turn on the vehicle and test the tail light to confirm everything works properly.
The tail light is working again. Repair completed successfully!
Skype: xhorsevvdi.com
Whatsapp: https://wa.me/8613983756354


 Whatsapp:
 Skype: