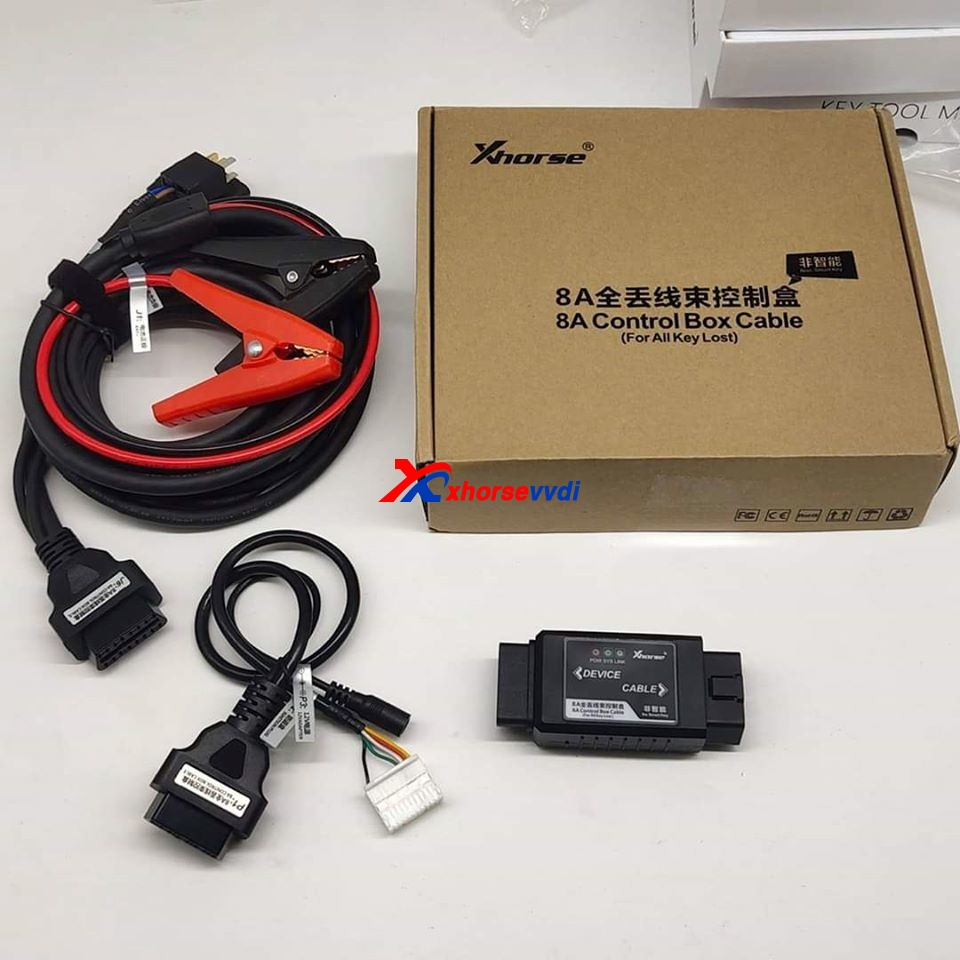
Xhorse Toyota 8A Adapter can work with VVDI2,and VVDI MAX+VVDI MINI OBD Tool. In previous,we display the connections,and this time,we will take one car model as an example.
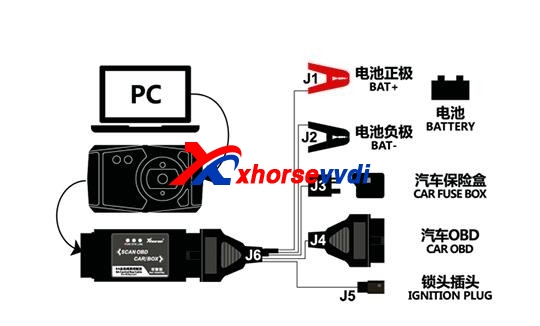
1.Connection Diagram
2.Preparation steps.
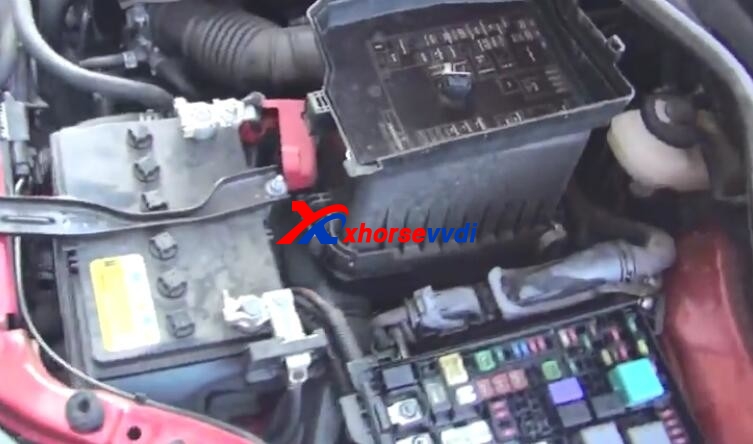
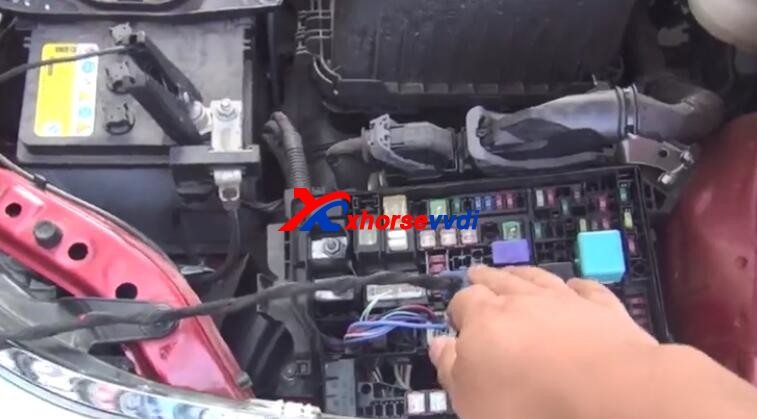
First find the fuse box on the car
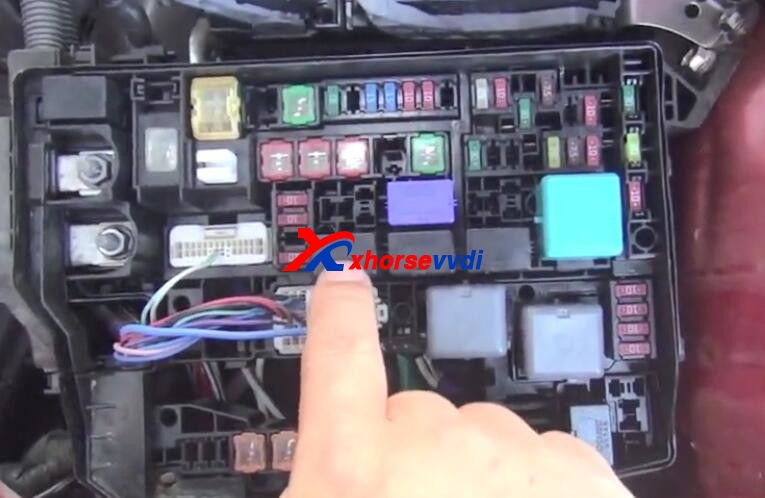
Open the fuse box
Please note that different models have different fuse positions and relay box positions
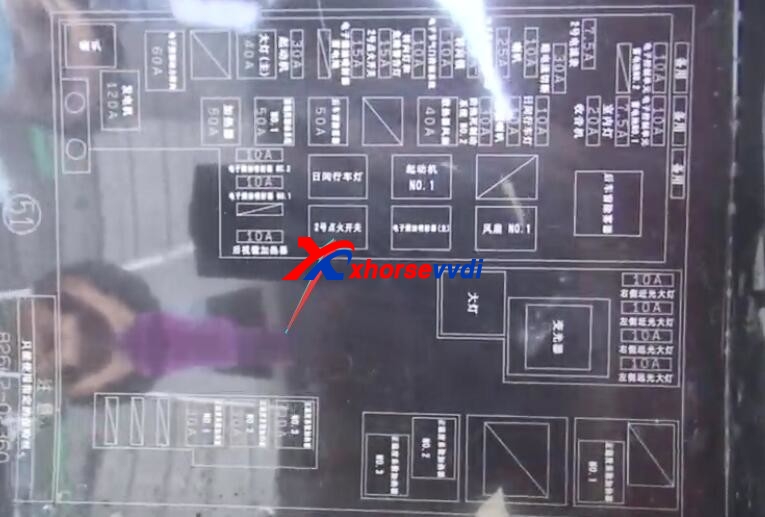
This position is marked with No. 2 ignition switch .We look for it on the relay according to the picture.
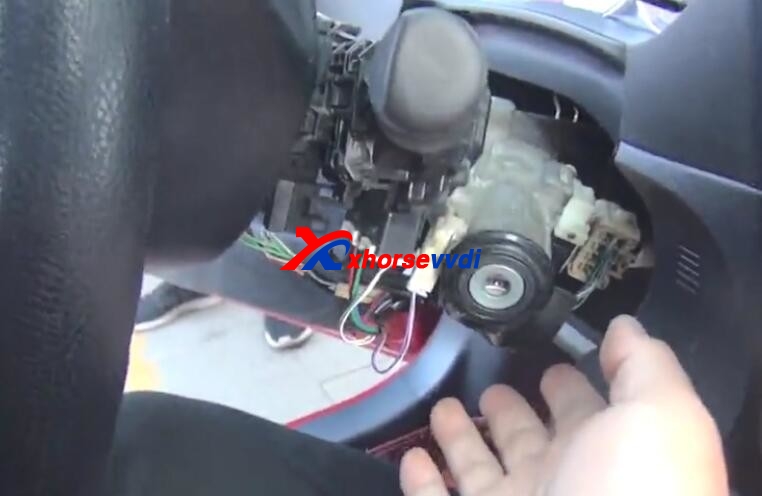
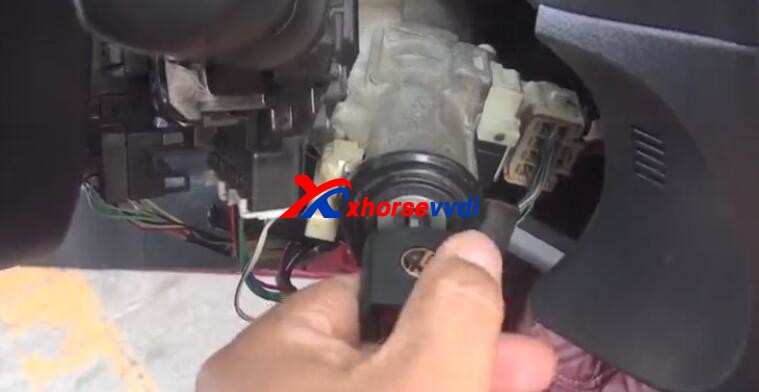
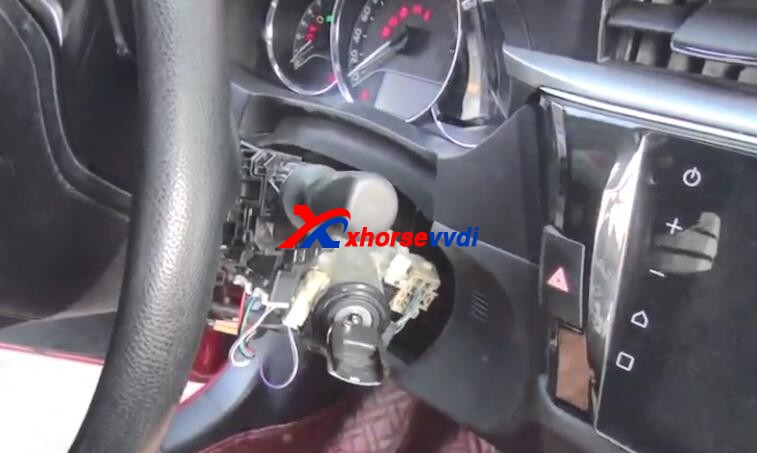
In the second step we need to remove the protective shell
Exposing the ignition lock
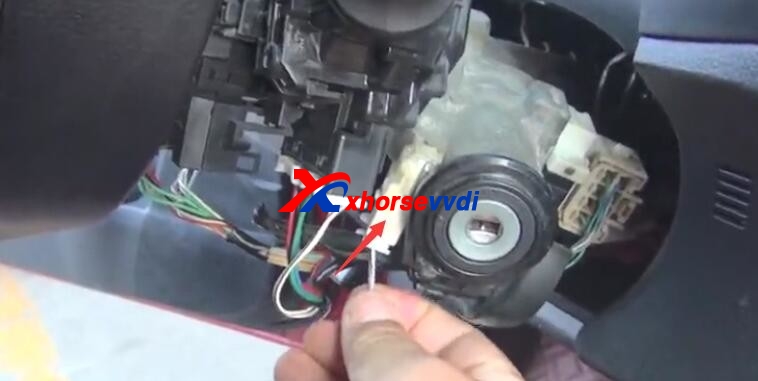
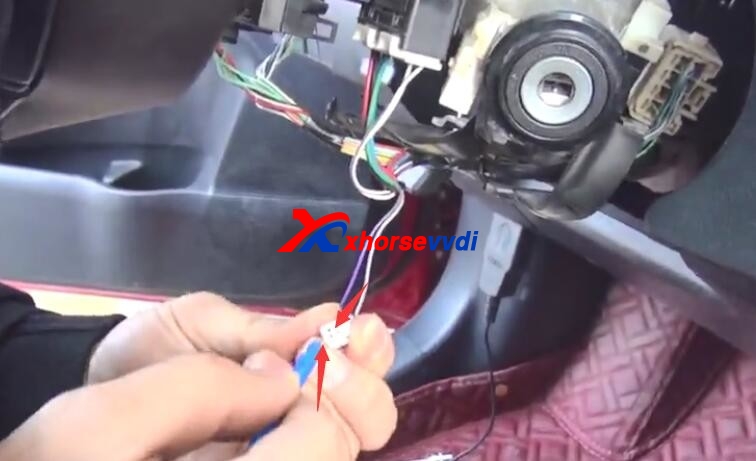
There is an inductive contact switch line on the ignition lock
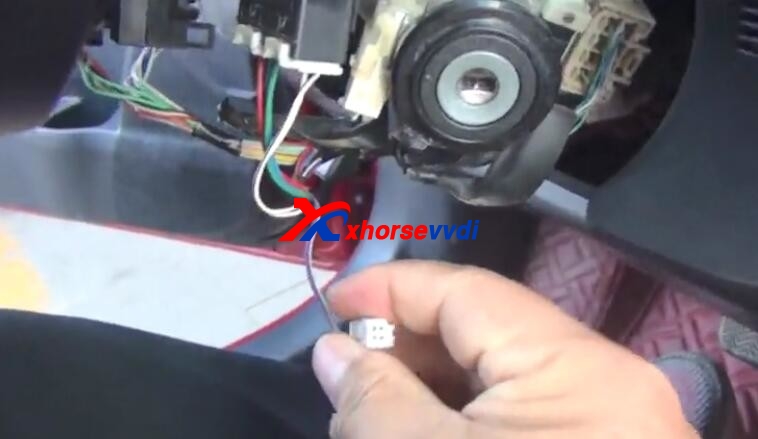
We need to unplug this plug
You can see there is a two-pin cable on this plug
After a while we need to insert the long blue plug on this
3.The preparatory work has been completed.Let’s connect the device now.
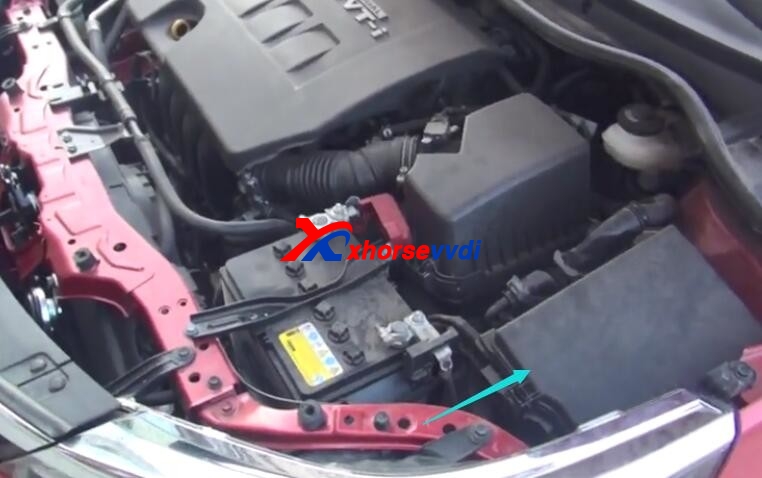
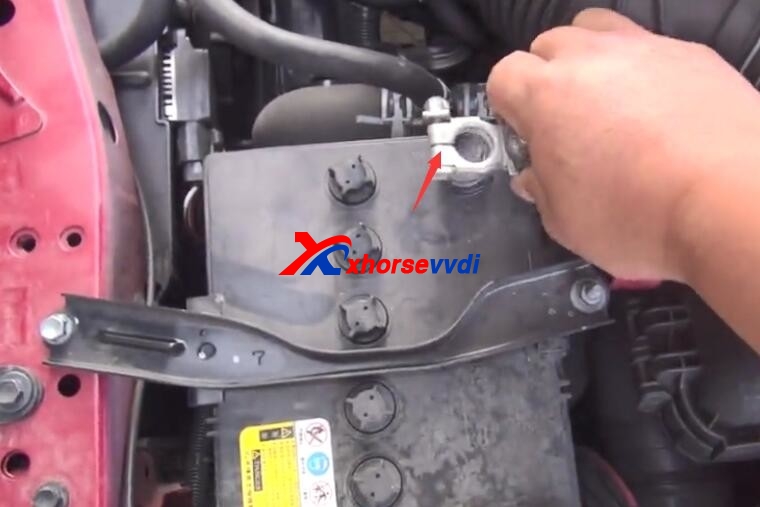
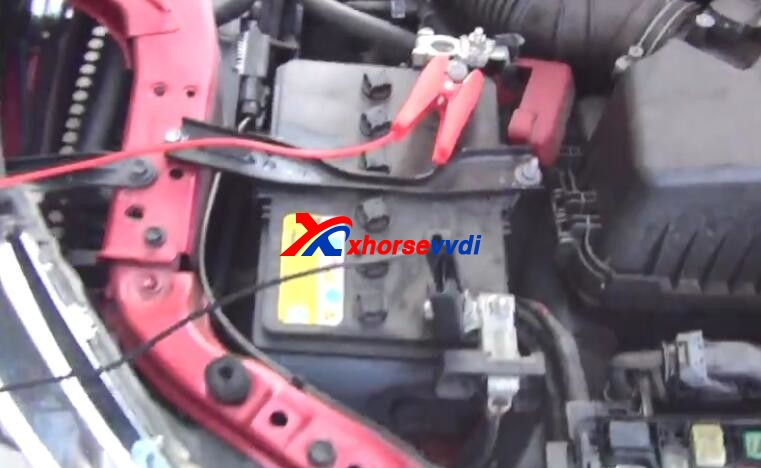
Two power clips are clamped on the battery
Be sure to take away the red positive electrode
The positive and negative poles are clamped in corresponding positions
The blue short is connected to the position of the No. 2 ignition switch relay
Then connect OBD cable,and VVDI2.
Connect the long blue signal wire to the contact switch wire
Insert the key without the chip into the ignition switch. Switch to ON status.
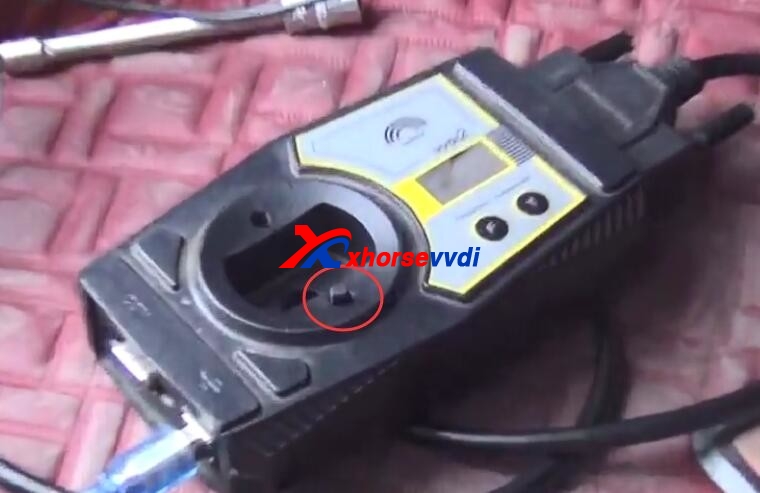
Then put the super chip in VVDI2.You can see the super chip in this position.
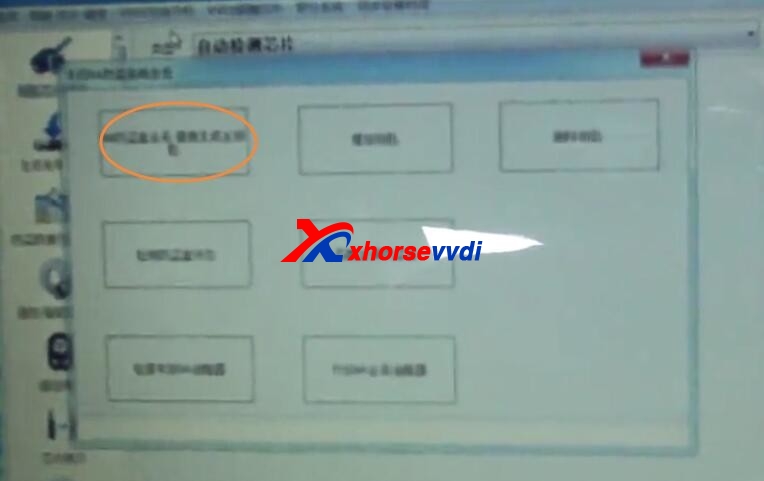
4.After connect well,please open VVDI2 Transponder programmer software>>Toyota 8A immo
We click “OBD Make master key directly”
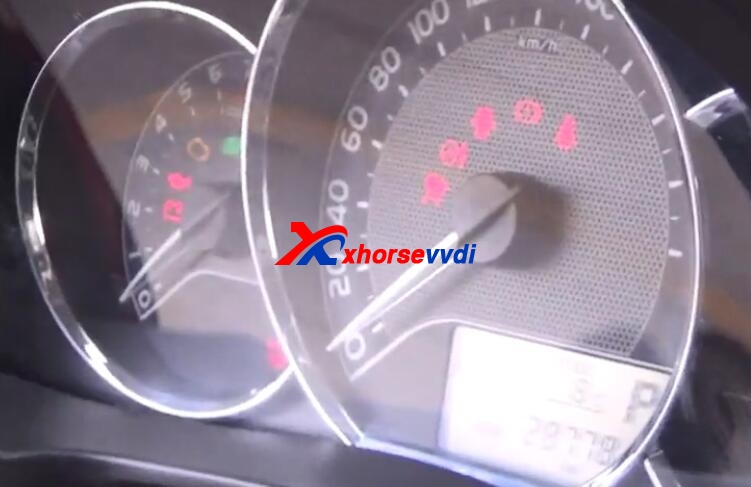
When communicating, the system dashboard will automatically light up
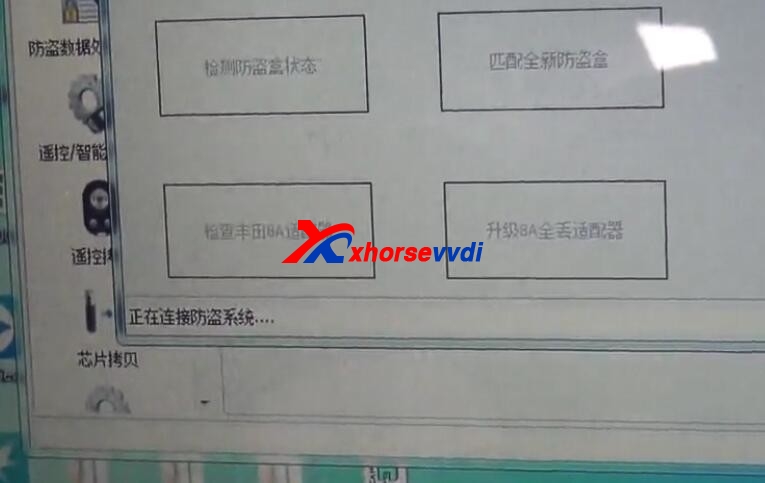
Reading anti-theft
The instrument light on the car will flash
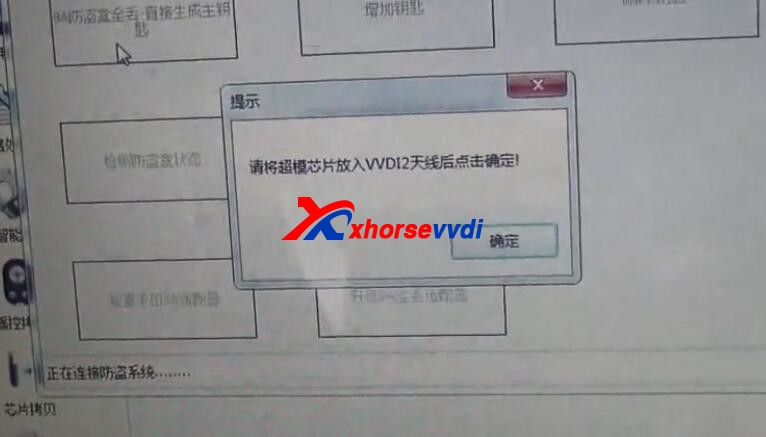
Prompt to put the super chip into the VVDI2 antenna and click OK
We have already put it in, click OK directly
Writing to chip
Need to calculate online, so you need to connect to the Internet when operating
Successfully generated master key chip
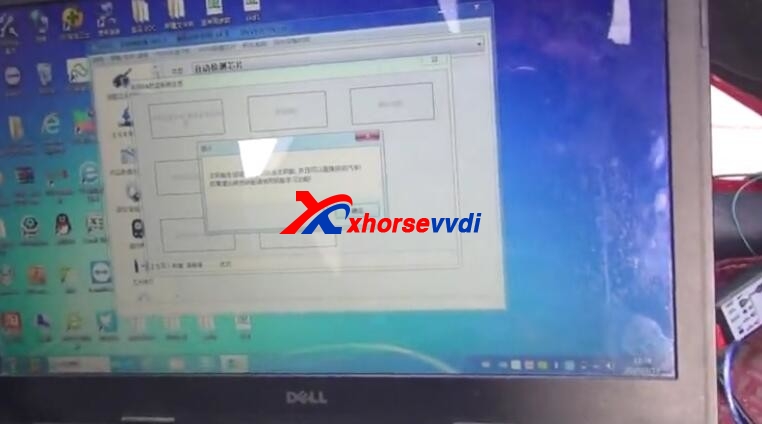
We disconnect the thread and recover the vehicle removing
Put the chip into the key
Insert, turn on the ignition switch, start normally


 Whatsapp:
 Skype: