Duplicating a key is fast, clean, and reliable when you use the Xhorse Condor XC-TWINS together with the M5L Clamp. Below is a clear step-by-step walkthrough that follows the exact workflow used in our test: clamping, optical decoding, and automated cutting. Follow these steps and you’ll produce accurate duplicates every time.
Why this setup?
The XC-TWINS’s optical recognition + automatic milling, paired with the M5L clamp’s precise positioning, removes most of the guesswork. Whether your key is tip-aligned or shoulder-aligned, the combination gives repeatable, high-precision results.
Step 1 — Clamp the Key Correctly
First, determine the key type: tip-aligned or shoulder-aligned.
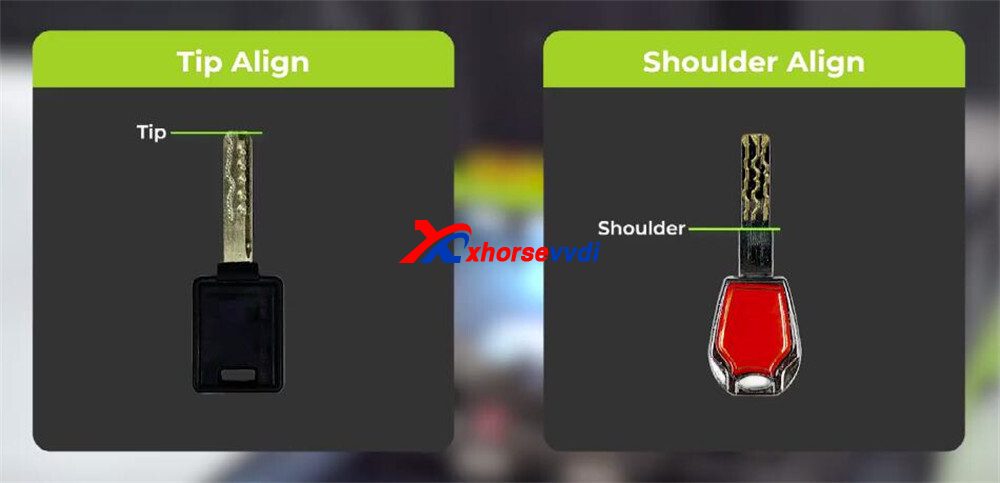
Tip-aligned keys
- Align the key on the clamp surface using any convenient reference line.
- Make sure the key fits by length and doesn’t interfere with the cutting or learning area.
- You may position freely as long as length and clearance are correct.
Shoulder-aligned keys
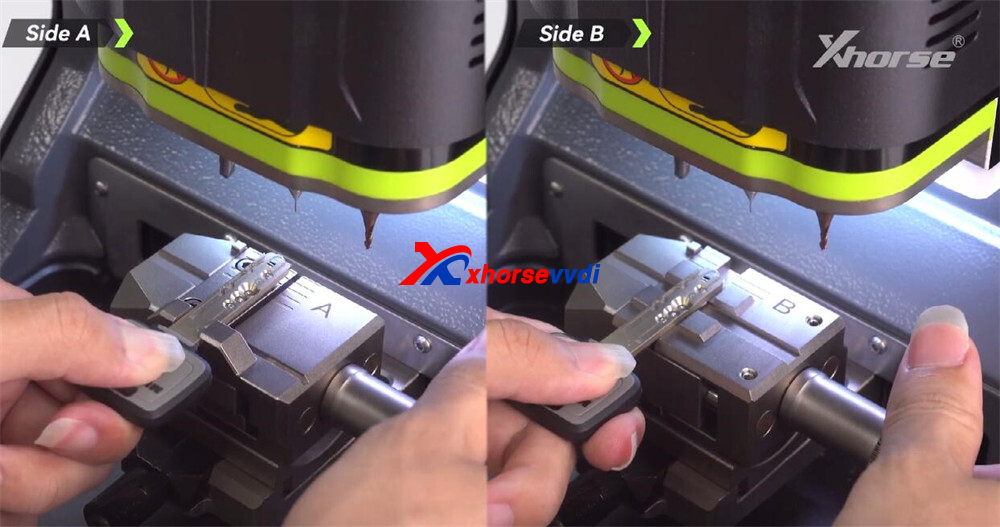
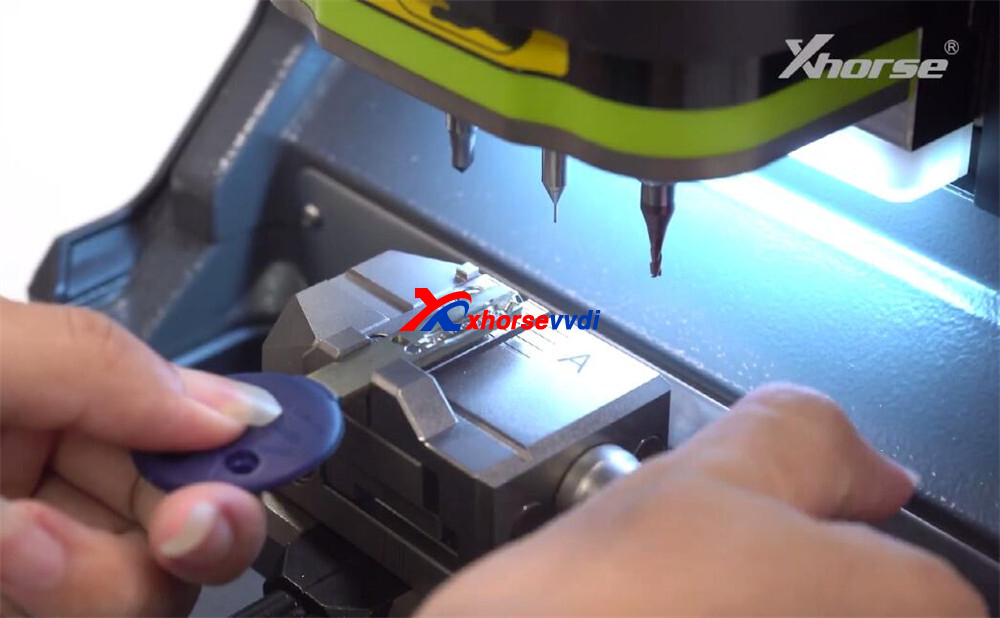
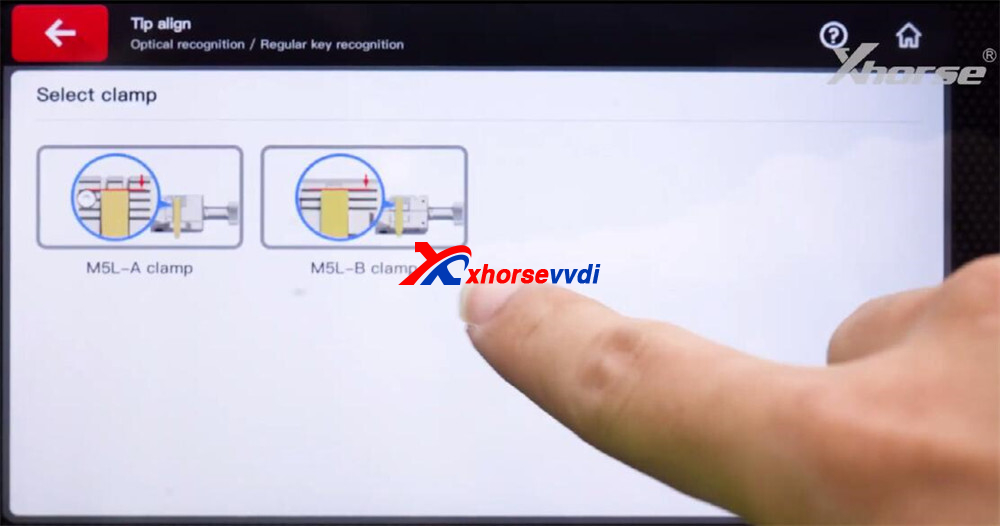
- Use M5L Clamp Side A: insert the shoulder positioning block into the slot, push the key shoulder firmly against it, then tighten to secure. Once clamped, remove the block.
- Or use M5L Clamp Side B: press the key shoulder directly against the shoulder alignment line.
- Important: when you’re learning or cutting the key side, clamp the key vertically using M5L Clamp Side B only.
- For shoulder-aligned key cutting, make sure the shoulder is pressed tightly to the clamp’s outer edge.
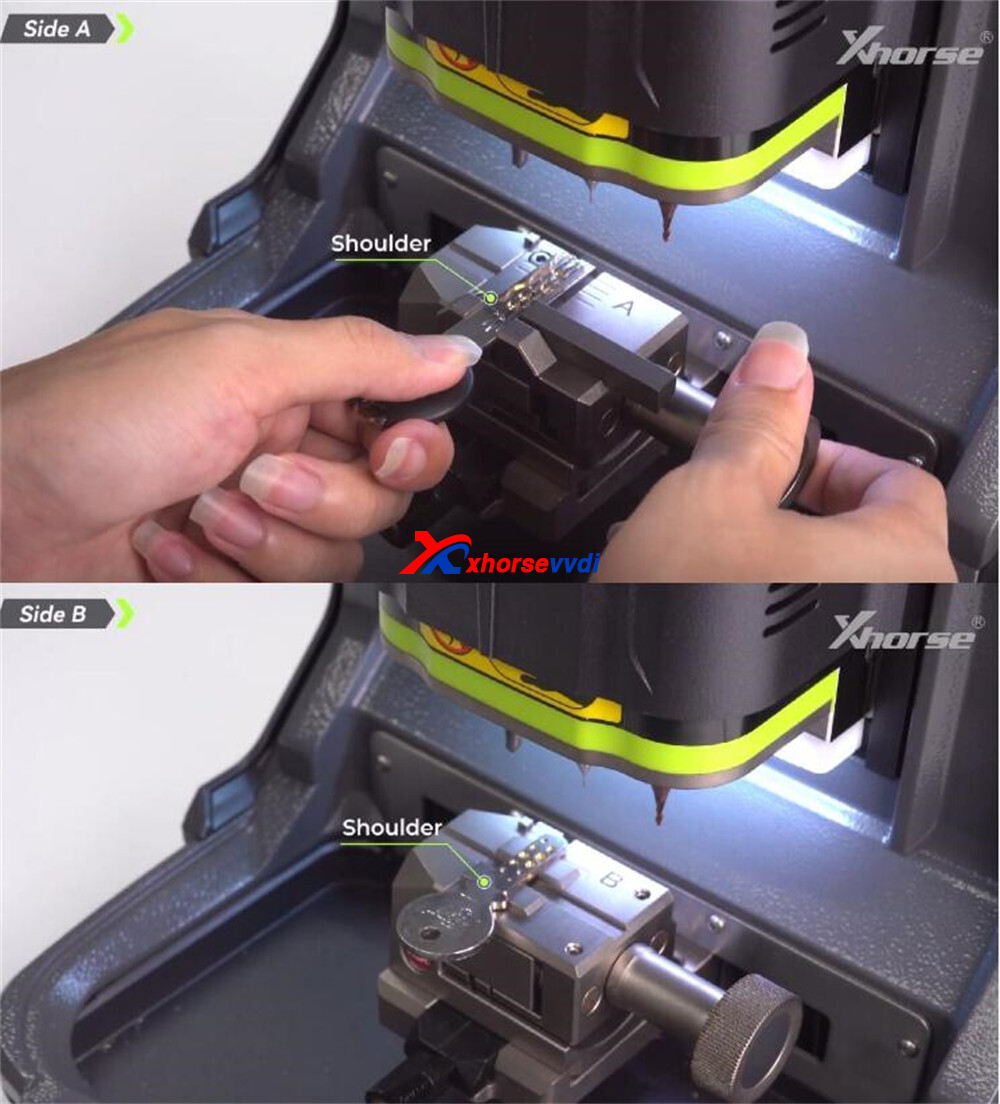
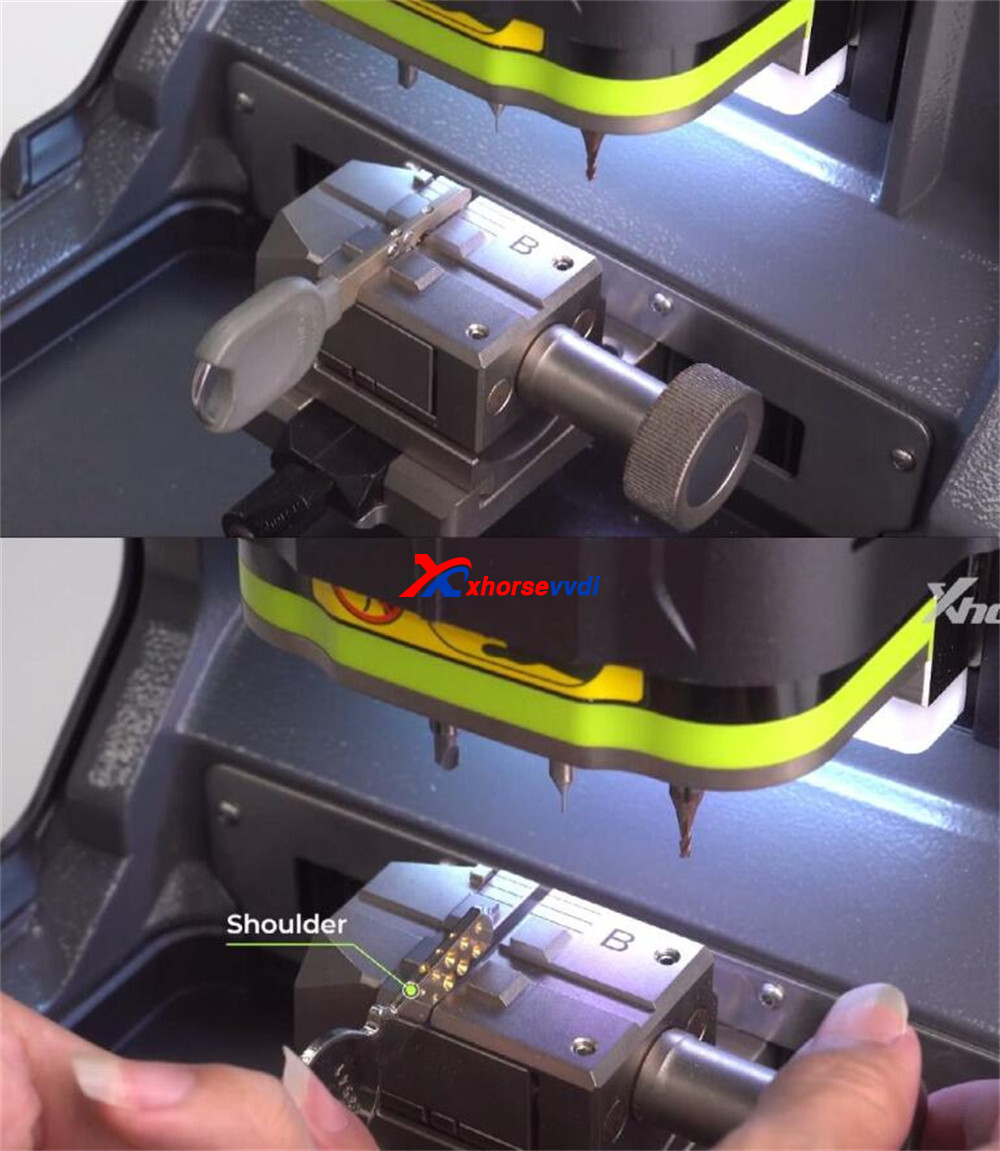
In our example we used a tip-aligned key — so we aligned it by length on the clamp surface.
Step 2 — Decode the Key (Optical Recognition)
With the key clamped:
Lower the protective cover and start the optical recognition system.
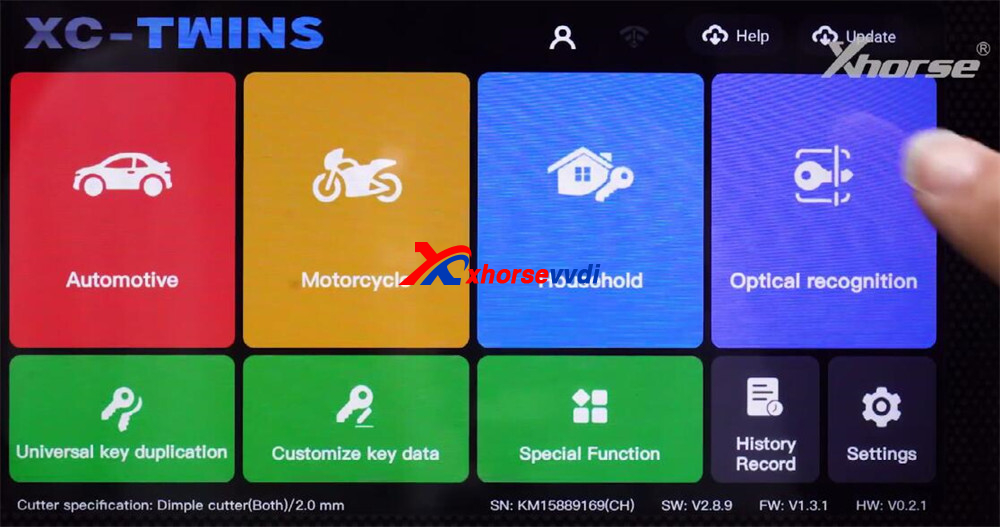
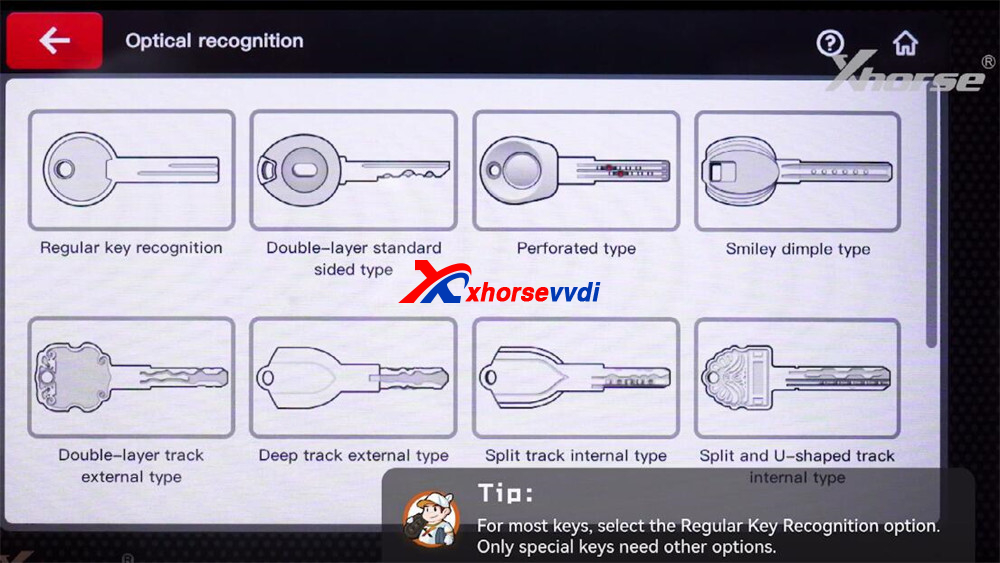
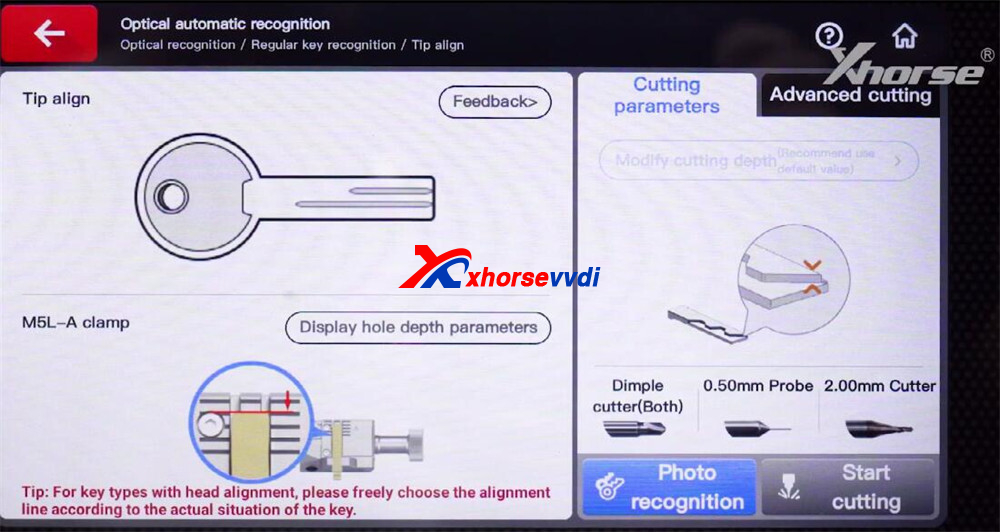
For most blanks choose Regular key recognition. (Some special blank types need alternate detection modes — e.g., tip-aligned may prompt an M5L-A clamp mode.)
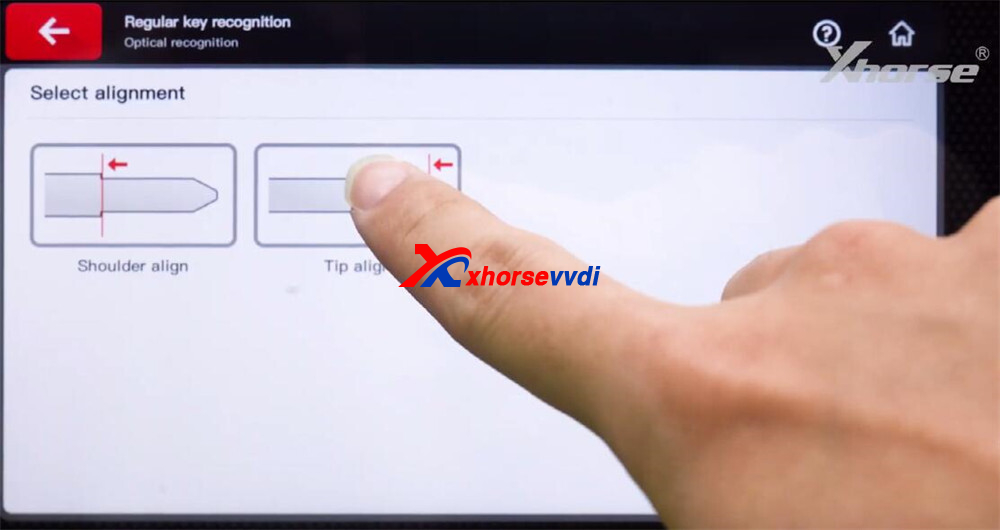
Tap Photo recognition so the machine captures images of the key.
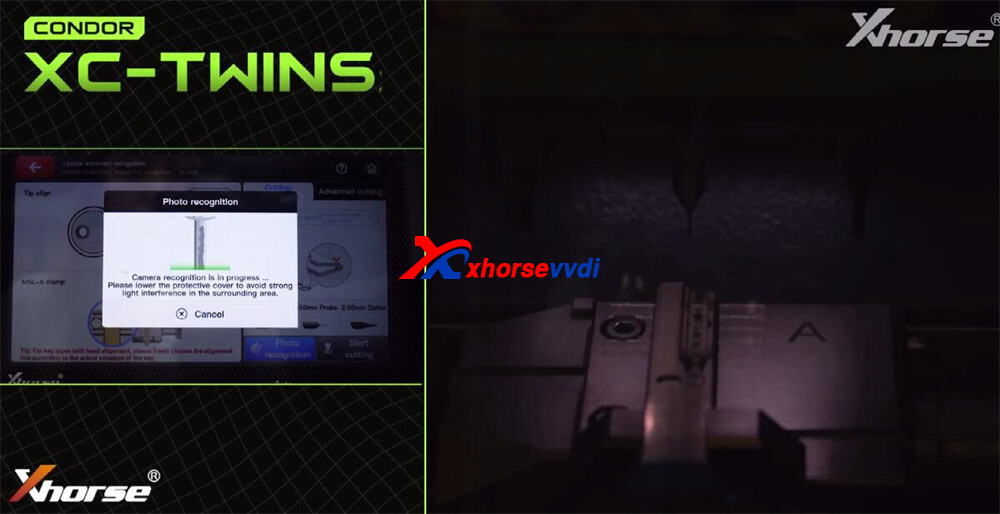
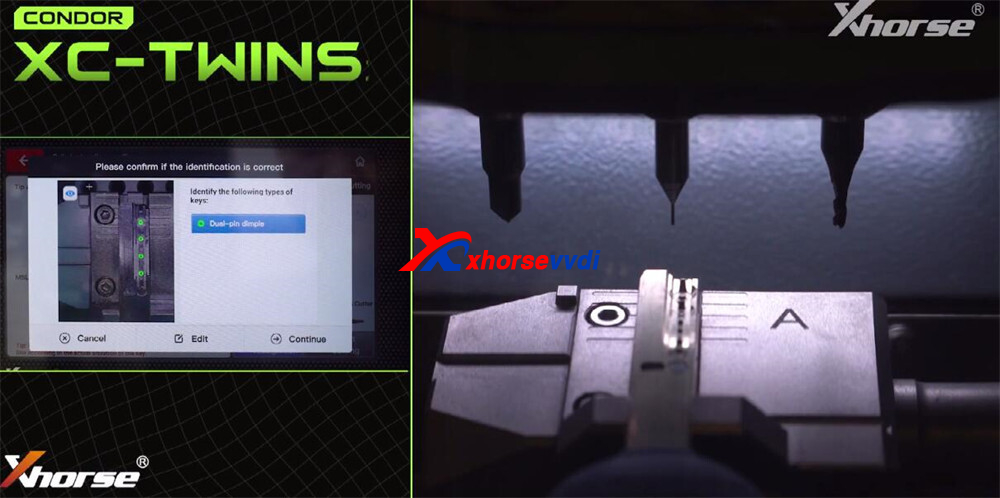
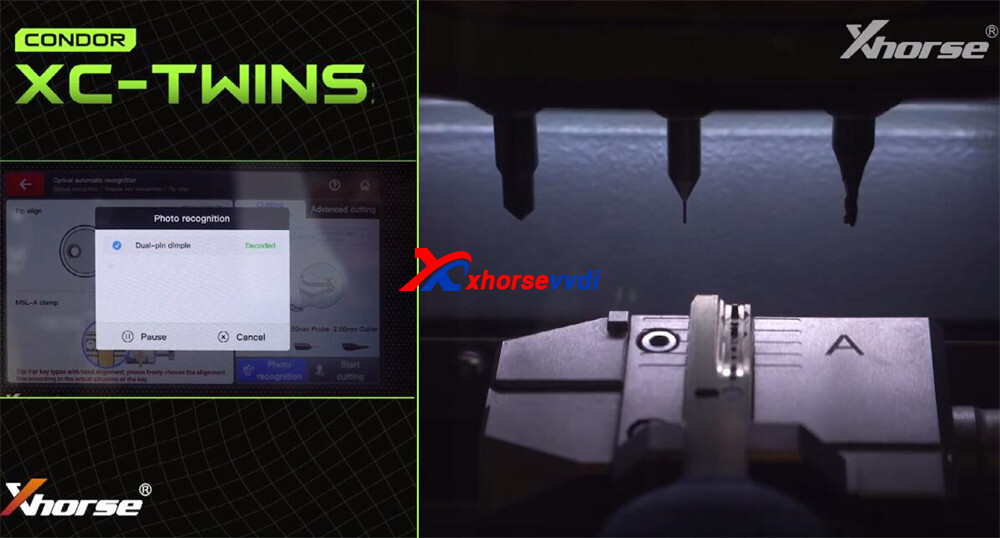
The system will automatically detect the key type and propose a match — confirm it.
Begin the learning process and wait until the XC-TWINS finishes analyzing the profile.
Once learning is complete, the machine has the precise data needed to mill the blank.
Step 3 — Cut the Key
Now cut the blank:
- Open the cover and remove the original key.
- Insert a blank key matched to the detected type and choose the correct milling cutter.
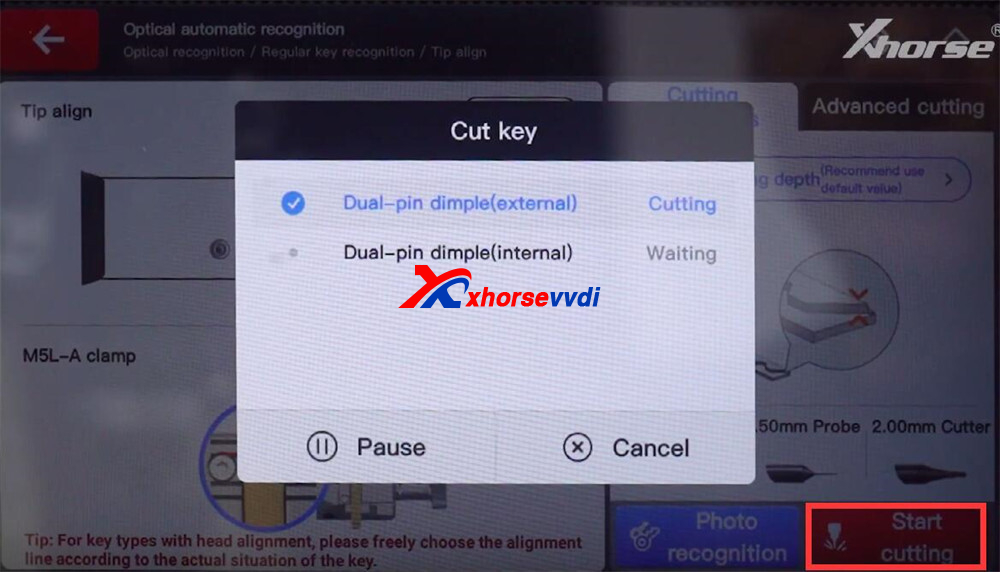
- Close the cover securely and press Start Cutting.
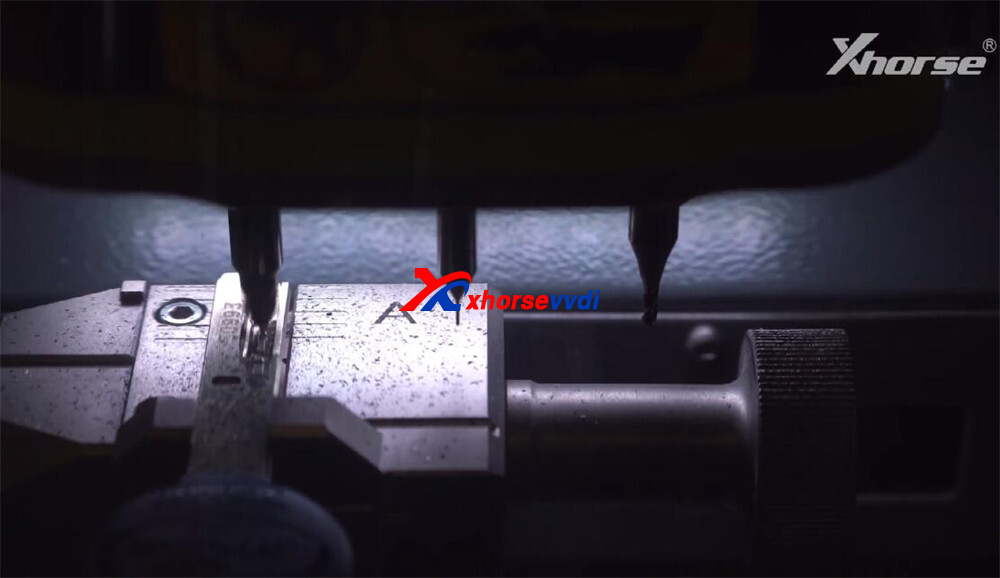
The Condor XC-TWINS will mill the first side automatically using the learned data. - After the first side is finished:
Remove any metal shavings from the clamp and machine bed.
Flip the blank over and re-clamp (keep the same alignment method).
Mill the opposite side.
5.When cutting is finished, clean the blank and test it in the lock.
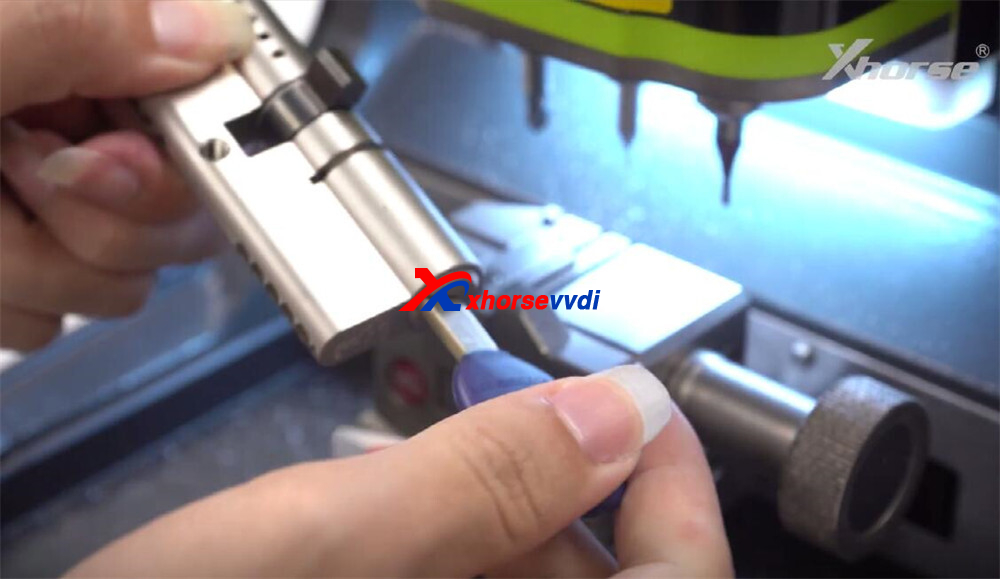
A smooth, full turn in the lock indicates a successful duplicate.
Tips & Best Practices
- Always check clamp alignment before starting — an off shoulder or length will ruin accuracy.
- Use the proper cutter for the blank — wrong cutter diameter/profile changes results.
- Keep the optical lens and clamp surfaces clean for reliable recognition.
- Remove chips between sides; accumulated shavings can change clamp seating.
- If a key doesn’t turn smoothly, check for high spots and lightly deburr or re-seat and re-cut if needed.
Quick Troubleshooting
- Machine misidentifies the key: Clean the clamp and lens, re-photograph, or manually select the mode (tip vs shoulder).
- Cut is too deep/shallow: Verify cutter selection and that the blank is seated exactly as learned.
- Key jams in lock: Deburr the edges and test again; if still tight, recheck measurements and re-cut.
Duplicating with the Condor XC-TWINS key cutting machine and M5L Clamp streamlines the entire process: accurate optical decoding, secure positioning, and automated milling. With the right clamp setup and a short routine — clamp, decode, cut — you’ll consistently produce precise duplicates with minimal fuss.
Video Guide:
Read also:
How to Cut EVVA 4KS Household Key by Xhorse Condor XC TWINS?
Skype: xhorsevvdi.com
Whatsapp: https://wa.me/8613983756354

 Whatsapp:
 Skype: